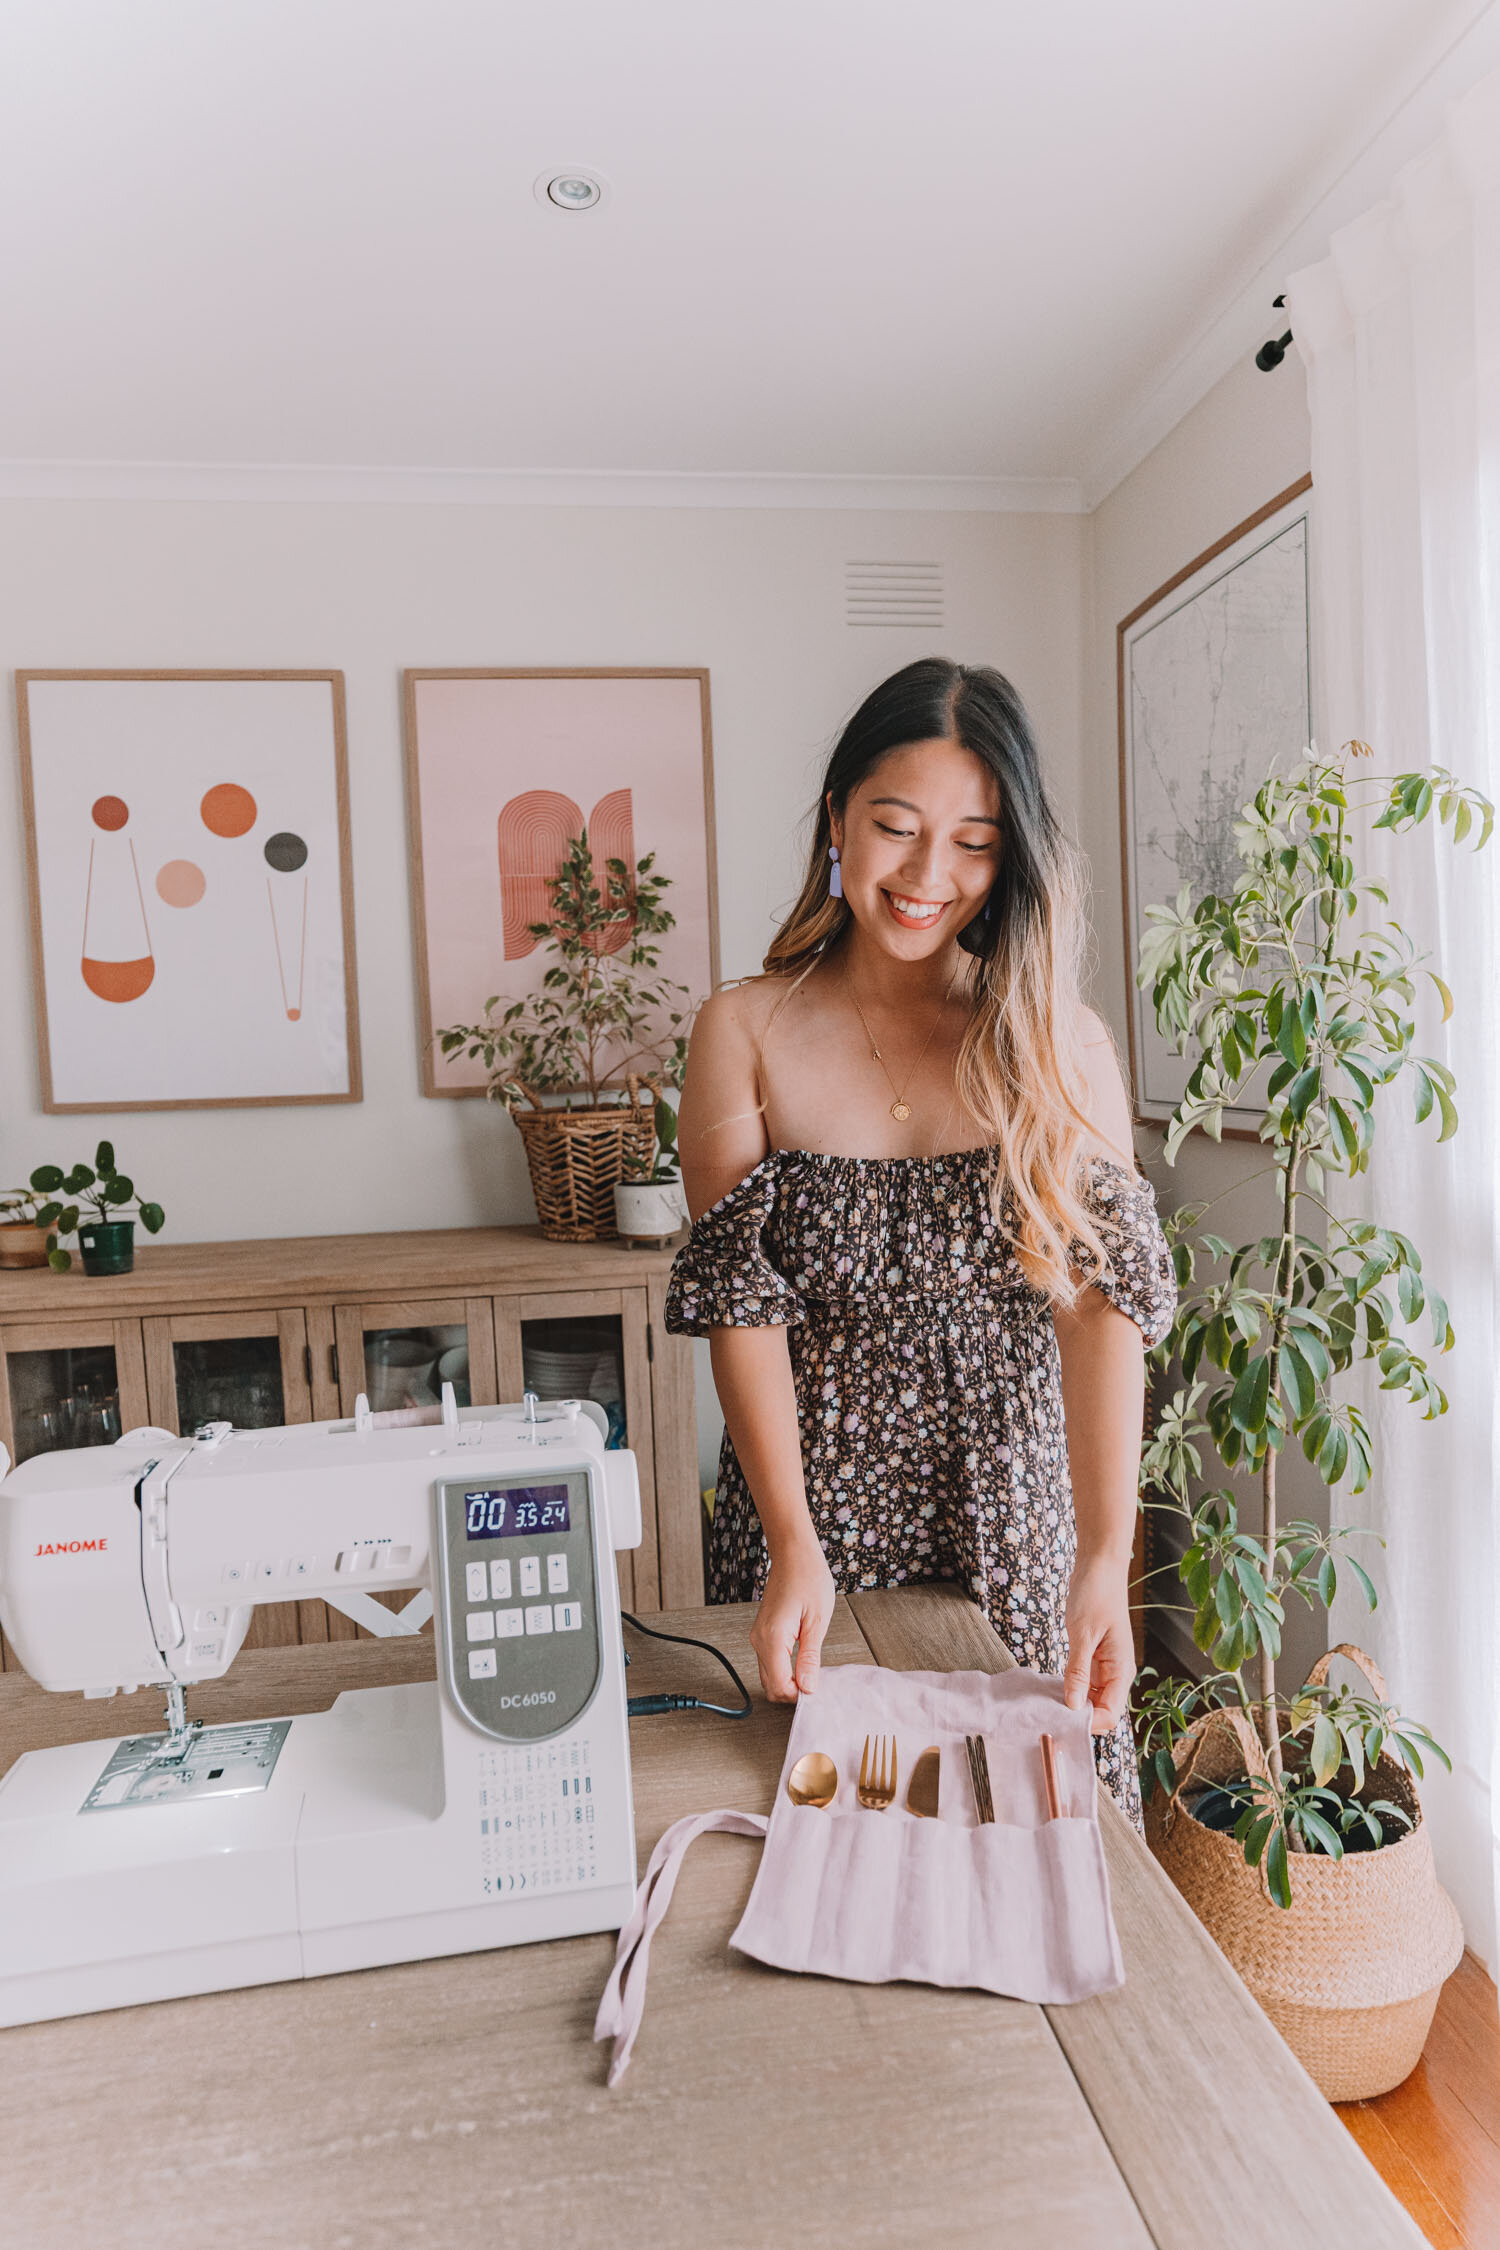
DIY Cutlery Holder Pouch - Make Your Own!
I’ve been meaning to make some cutlery pouches for a while now, for all those picnic adventures we love to go on in the summer!
These cutlery pouches are great for when you need to take your cutlery drawer on a picnic adventure, but also handy if you want to bring your own cutlery instead of using disposable ones when eating at food courts or picking up takeaway. Plus, make multiple sets and hand them out to friends you’re dining with as well!
If you’re interested in sewing your own DIY cutlery holder pouch, read on to see how it’s (so easily) done!

YOU WILL NEED:
Mid-weight fabric, 55 cm x 110 cm in size ~: you will be using it to cut out 2 x 23cm x 50cm pieces + a 5 x 50cm piece for the ribbon. Note: if you don’t have enough fabric to also cut out the ribbon piece, then you can just use scrap ribbon or something similar too! I used linen for this project and always recommend natural fabrics where possible!
Ruler
Fabric Scissors OR Rotary Cutter + Self Healing Cutting Mat: I’m obsessed with my pink Olfa 45mm rotary cutter ever since discovering rotary cutters were a thing (#lifechanged) and find it so much easier to use than scissors. You’ll need a Olfa self healing cutting mat with it too - it literally self heals when you cut into it.
Tailor’s chalk OR washable fabric markers (e.g. Crayola Ultra-Clean Washable Markers): or even just a regular pen - just make sure you mark the wrong side of the fabric so it doesn’t show on the correct side!
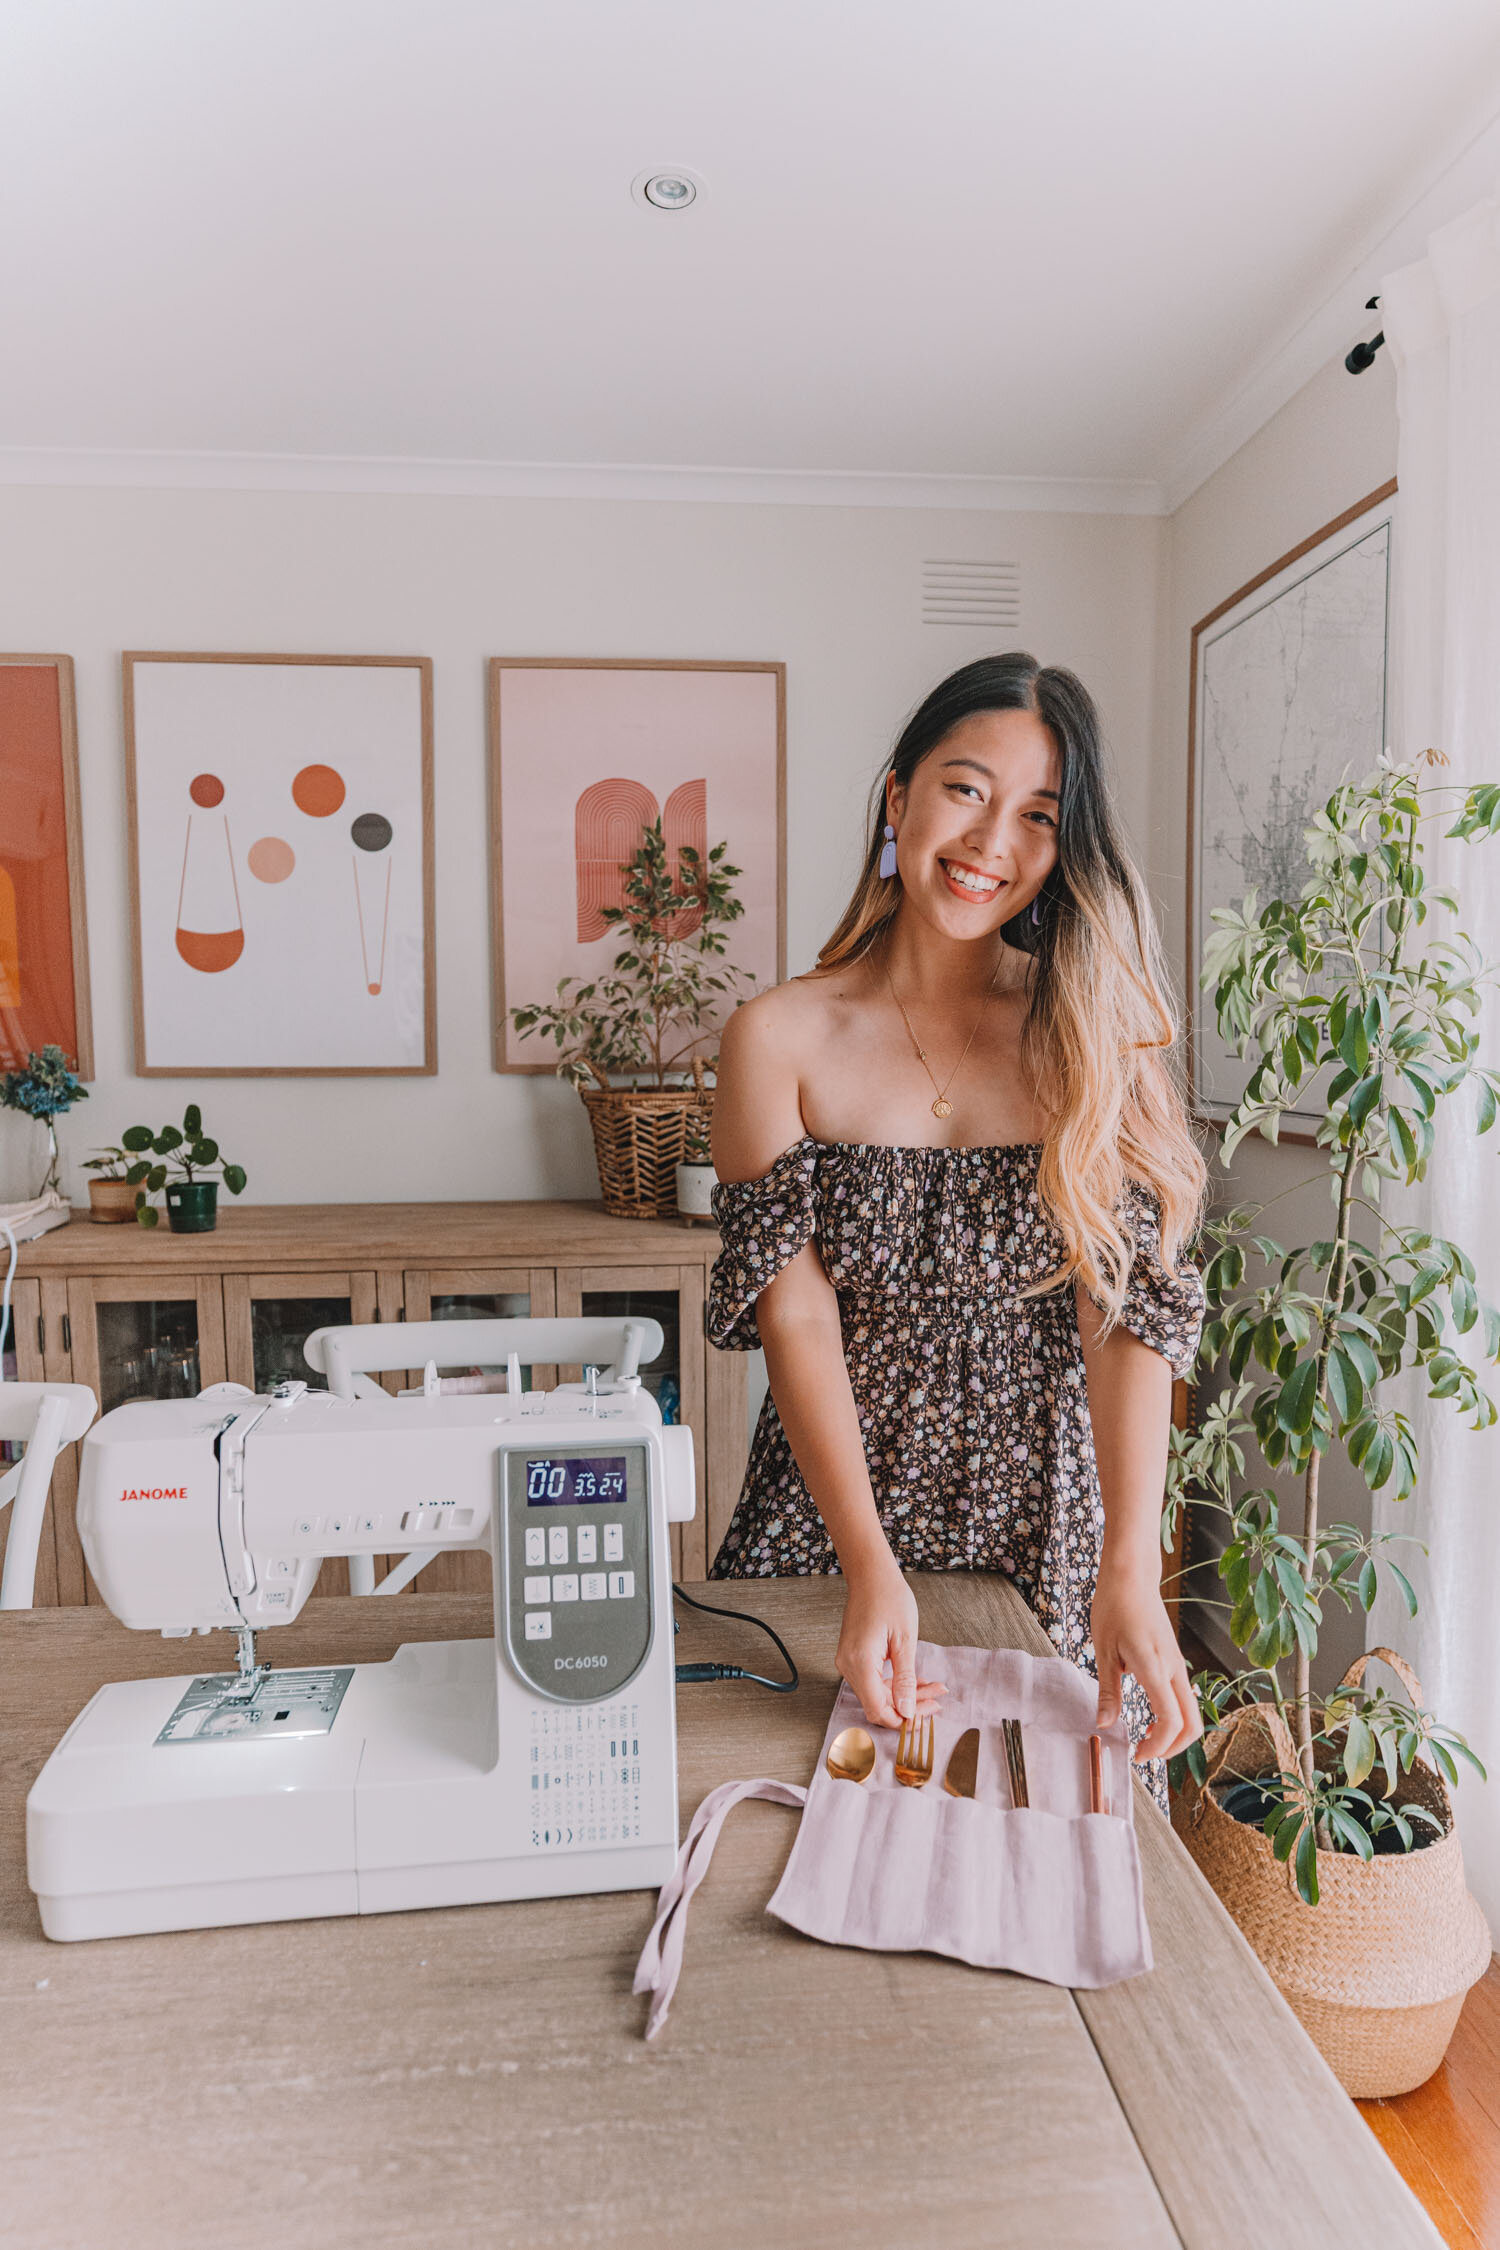
Sewing machine: I’m using my trusty Janome DC6050 computerised sewing machine also known as the #bestthingever
Sewing thread in a matching colour


INSTRUCTIONS
Wash, dry & iron fabric before beginning this project to account for any shrinkage.
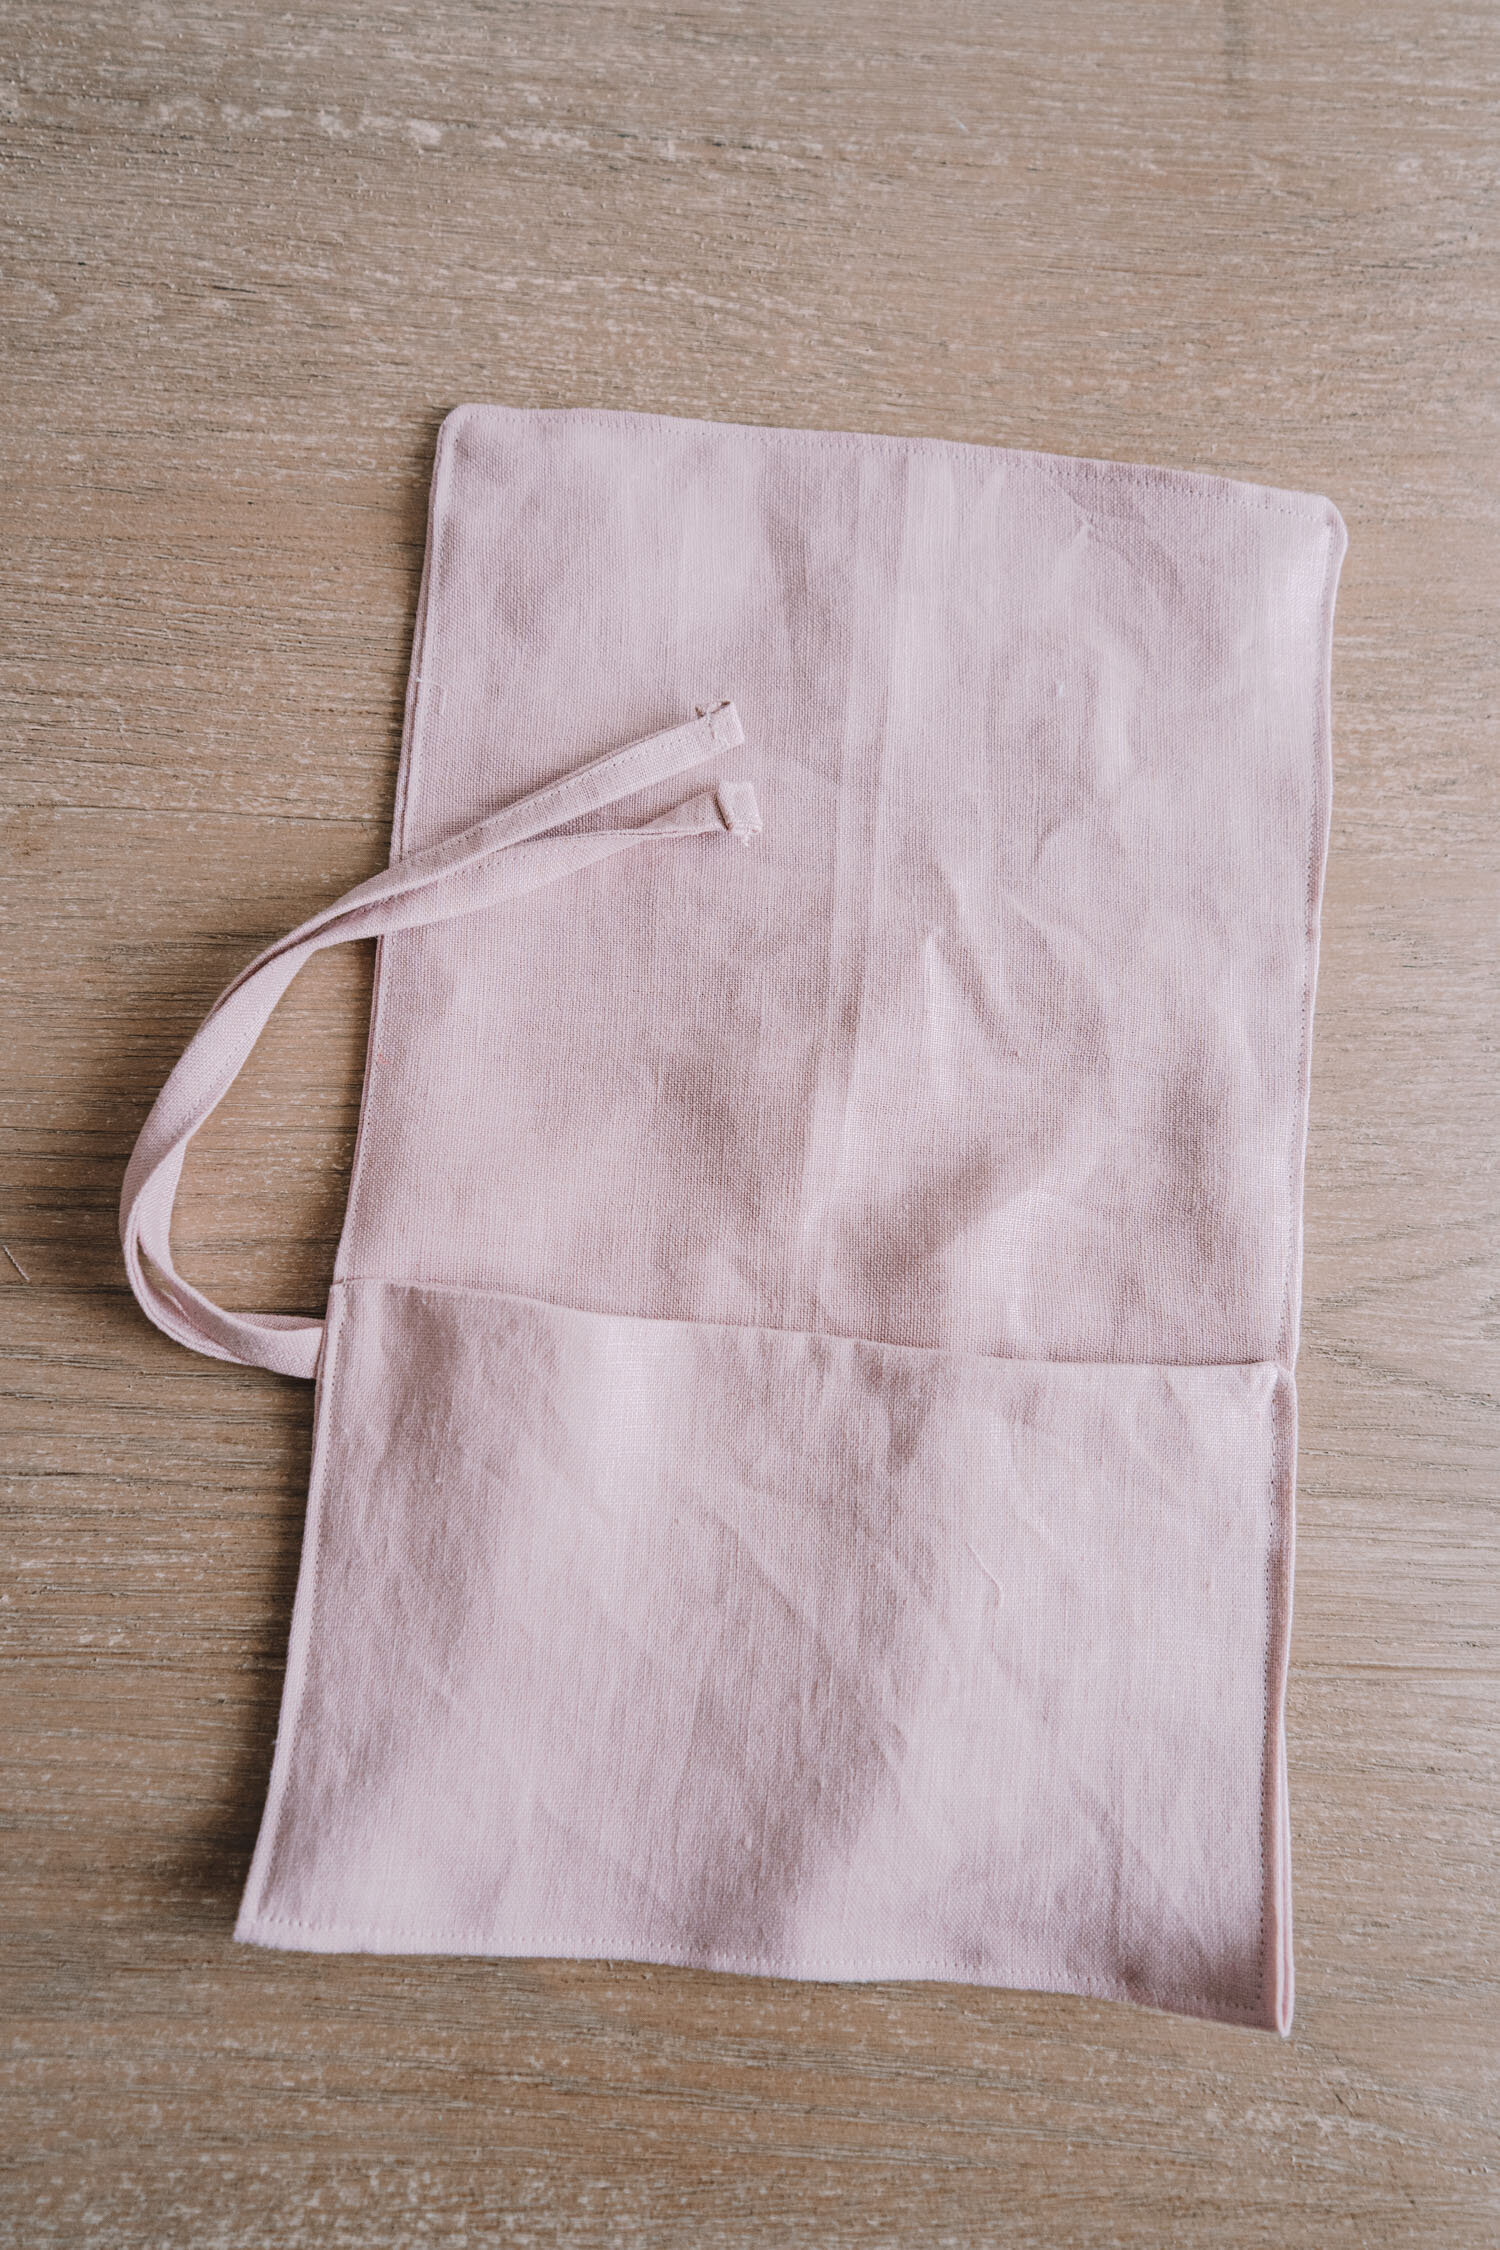
Cut two rectangles of fabric 23cm x 50cm in size + a strip of fabric 5cm x 50cm in size.

3. Place the two pieces of fabric together, with the correct side facing inwards towards each other. On the longer side, mark a point approximately 26 cm from the bottom end, on the left side. Sew along the edge leaving a 1cm ~ hem allowance, and leaving an opening 4cm on either side of that point you marked (so it’s an 8cm~ opening overall!). This is so that you can flip it inside out after.
See diagram below for a better visual explanation!


4. Flip your rectangle inside out, using chopsticks to push out the corners. Then, press with an iron so everything is neat. Put this aside for now, it’s time to make the ribbons.
5. Using your 5cm x 50cm piece of fabric, you’re going to fold each side in towards an imaginary middle line and then fold it in half. Press these folds so they stay. See image below.
6. Sew along the edge leaving a 0.5cm / minimal seam allowance. This creates a ribbon which you don’t have to flip inside out!


7. Fold each end twice, and sew across to finish the ends of your ribbon. I did this on my sewing machine but if it’s easier, you can also do it by hand as it’s quite a few layers of fabric. If you can, also do a reverse stitch at the start and end to make sure everything is secure.

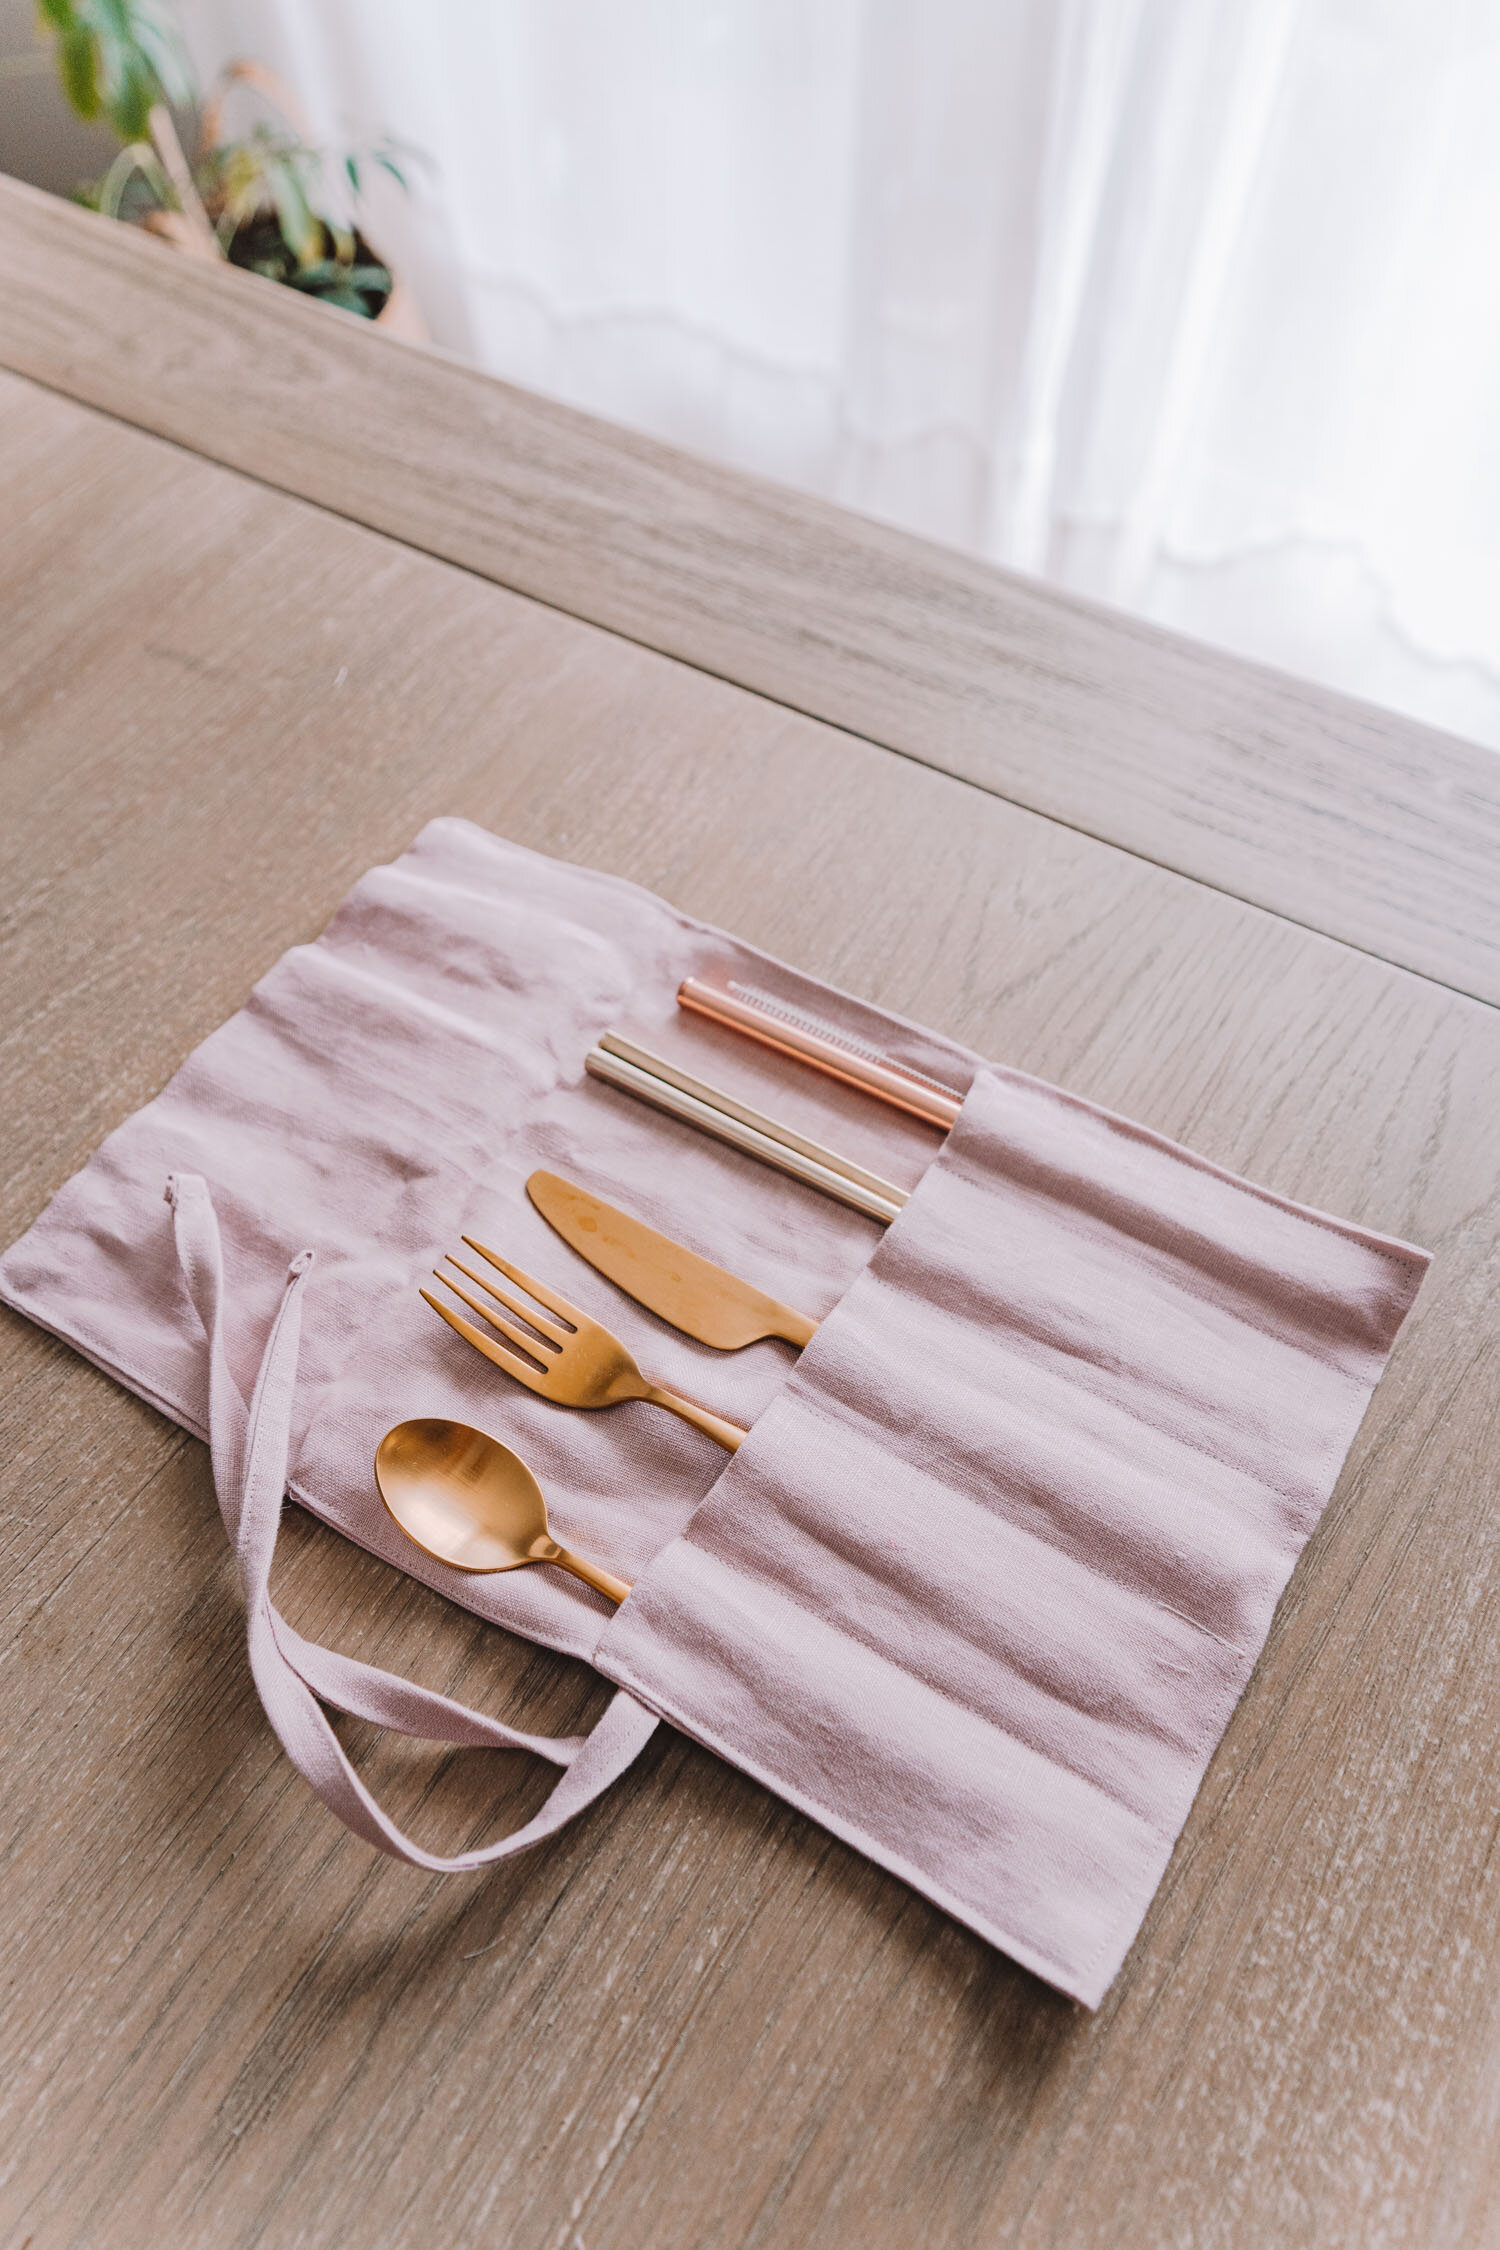
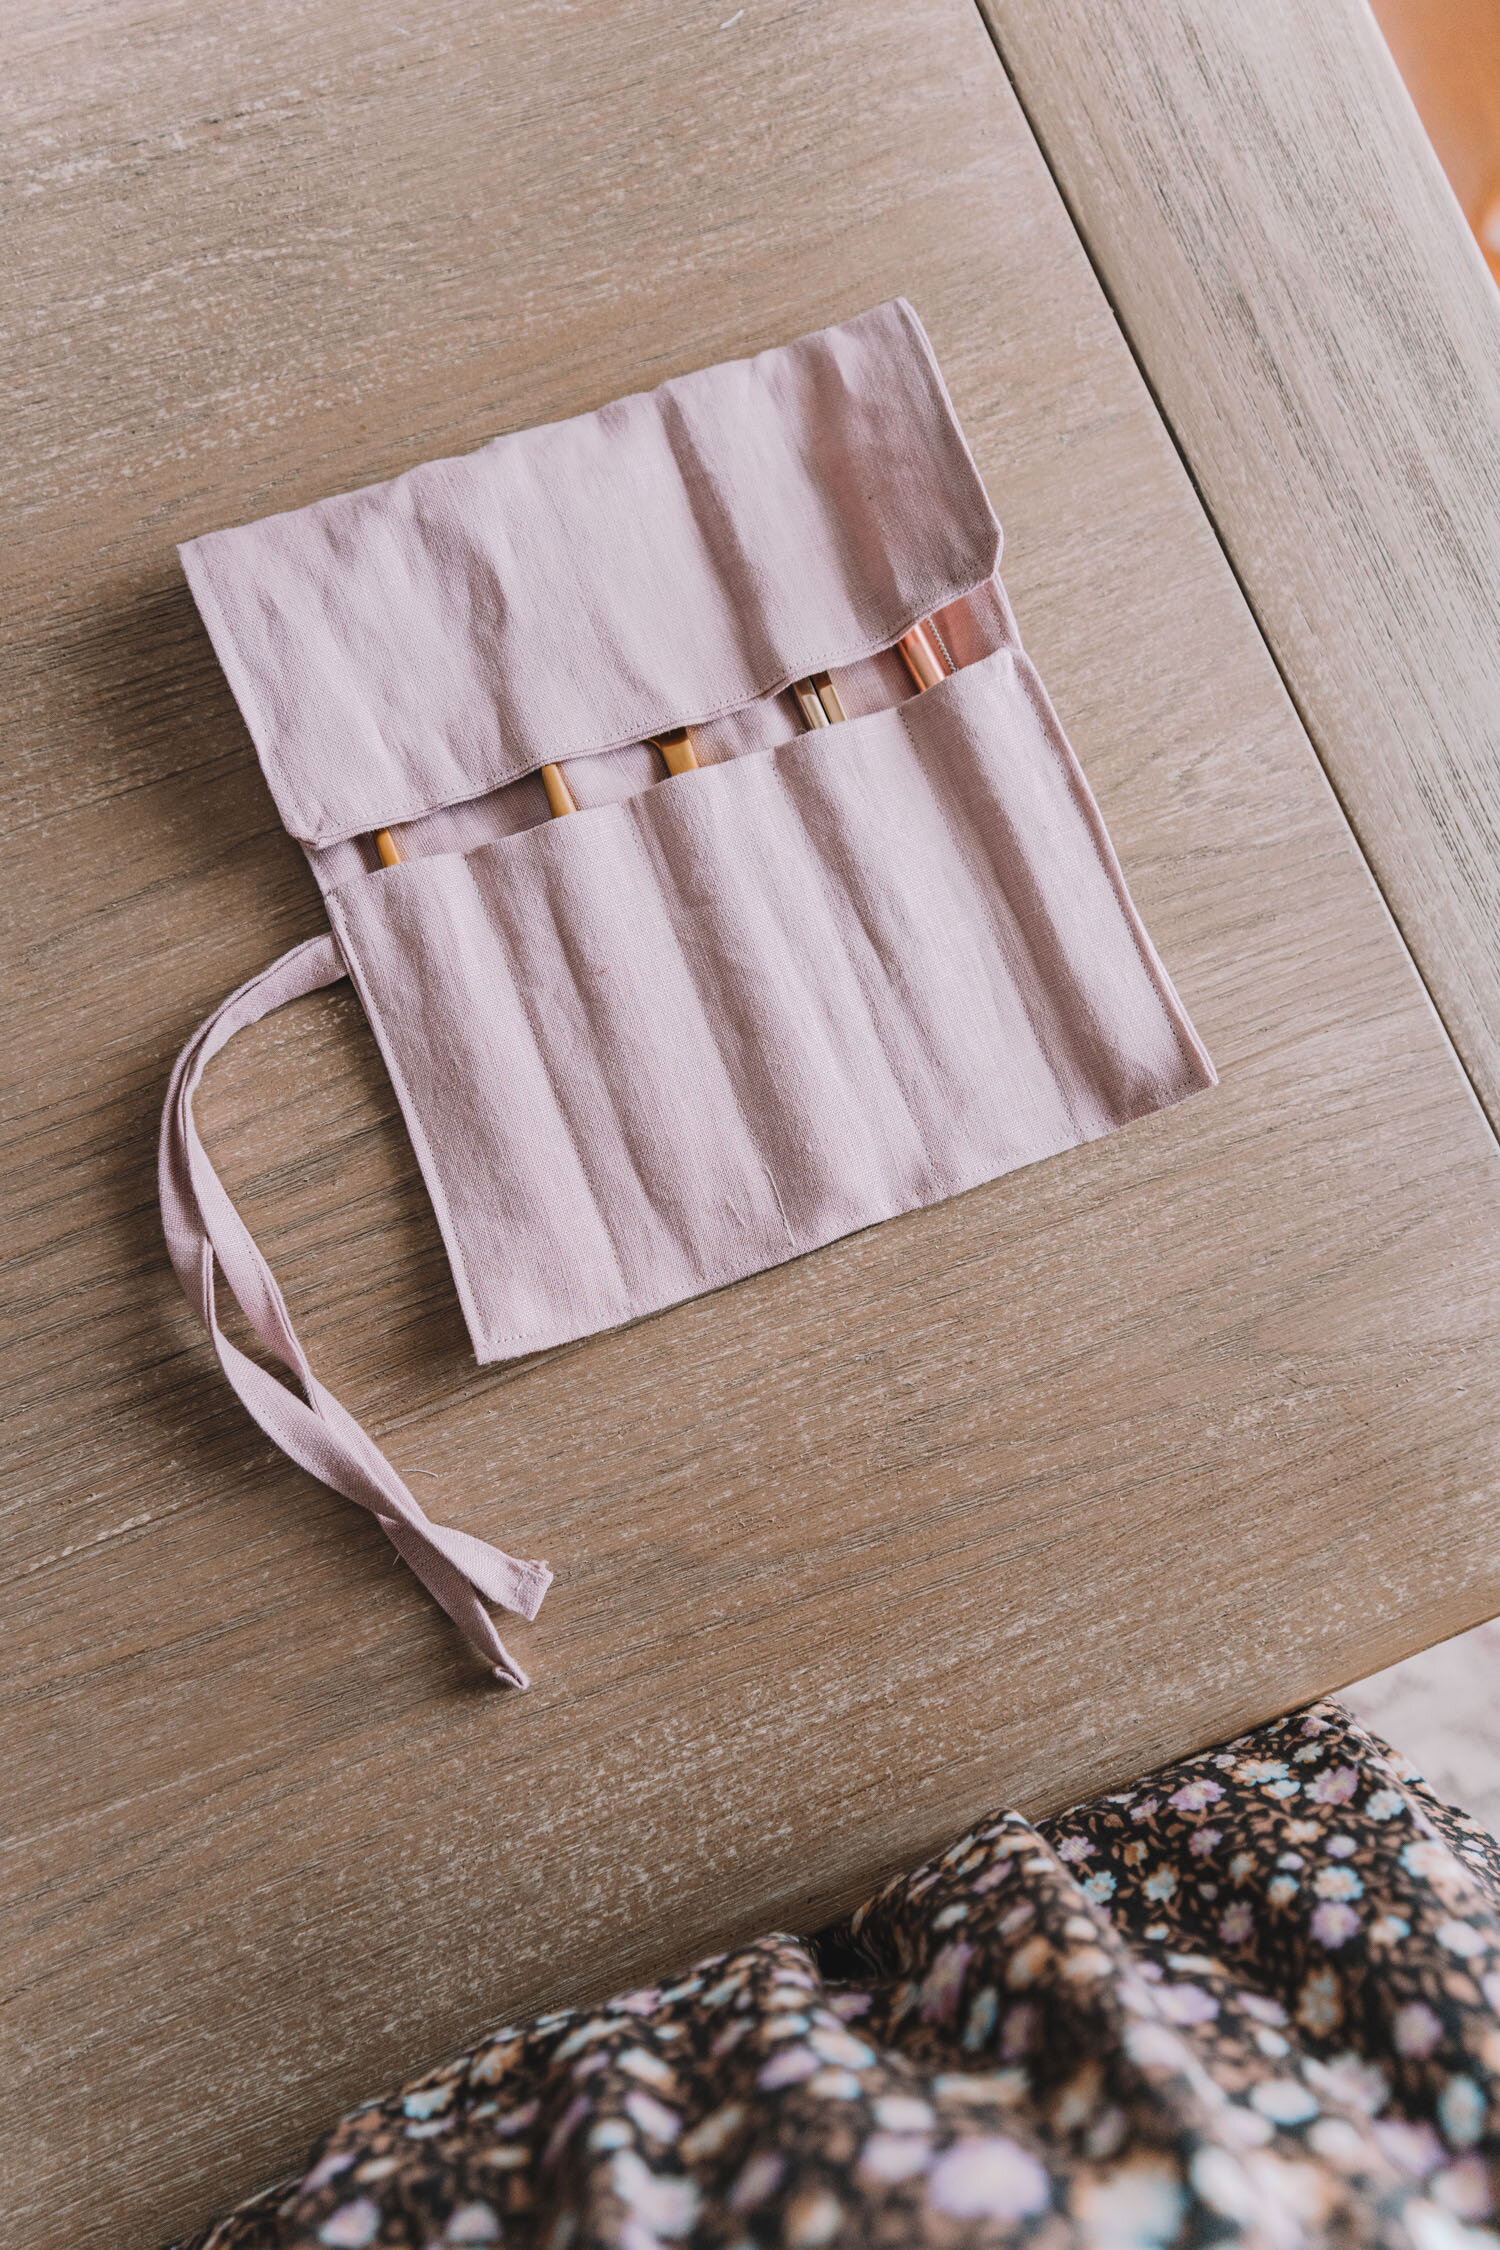
8. It’s time to arrange where your ribbon will go on your cutlery pouch! First, arrange your cutlery pouch so that the open seam (hole) is facing the left. Then, fold the bottom up around 13cm. This will be your pouch that holds your cutlery! Grab your cutlery and make sure this is a good height for your set and not too short / not too long - though this measurement should work with most standard cutlery. Once you’re happy with this, fold the ribbon in half, then tuck it into the open seam area near the top of the pouch, in the position below.

9. It’s time to sew everything in. Following the bottom right image, keep the pouch part folded up and the ribbon tucked in & top stitch around the entire rectangle with a 0.5 cm / minimal seam allowance. I’m using stitch 01 on my Janome DC6050 which starts and ends with a reverse stitch to lock everything in securely. Make sure you also do this on your sewing machine either manually or with one of the pre-set stitches, as you don’t want this stitch to unravel.
Once done, your ribbon will have been sewn on and your pouch pocket made!

10. It’s time to sew in the pockets for each utensil! Your cutlery holder pouch should be around 21cm wide. Don’t worry if it’s slightly off, we’re not making clothes here so it’s all good! Measure out 5 equal-ish spaces, around 4cm in in size. You can then use tailor’s chalk to mark these lines, or fold your cutlery holder so you have a few creases as your guide.

11. Sew a straight stitch along the lines to create each pocket. When sewing these stitches, it’s important to make sure you lock the stitch at the start and end as these stitches need to be super secure so they don’t unravel when in use. Do this by using one of the preset stitches (on my DC6050 I use stitch 01 which automatically does a reverse stitch at the start and end) or just by manually doing a reverse stitch at the start and end of your stitch.

12. Once those stitches are done, you’re finished! Enjoy your cutlery pouch, take it on lots of adventures, gift some to friends!
PS. If you have scrap fabric leftover, keep these for a future project just in case. Or if they’re just tiny unusable scraps, don’t throw them in the bin! If you’re using a natural fabric such as 100% linen or cotton, you can put these in the compost bin and let them break down in compost.