Make Your Own Linen Napkins - Sewing DIY!
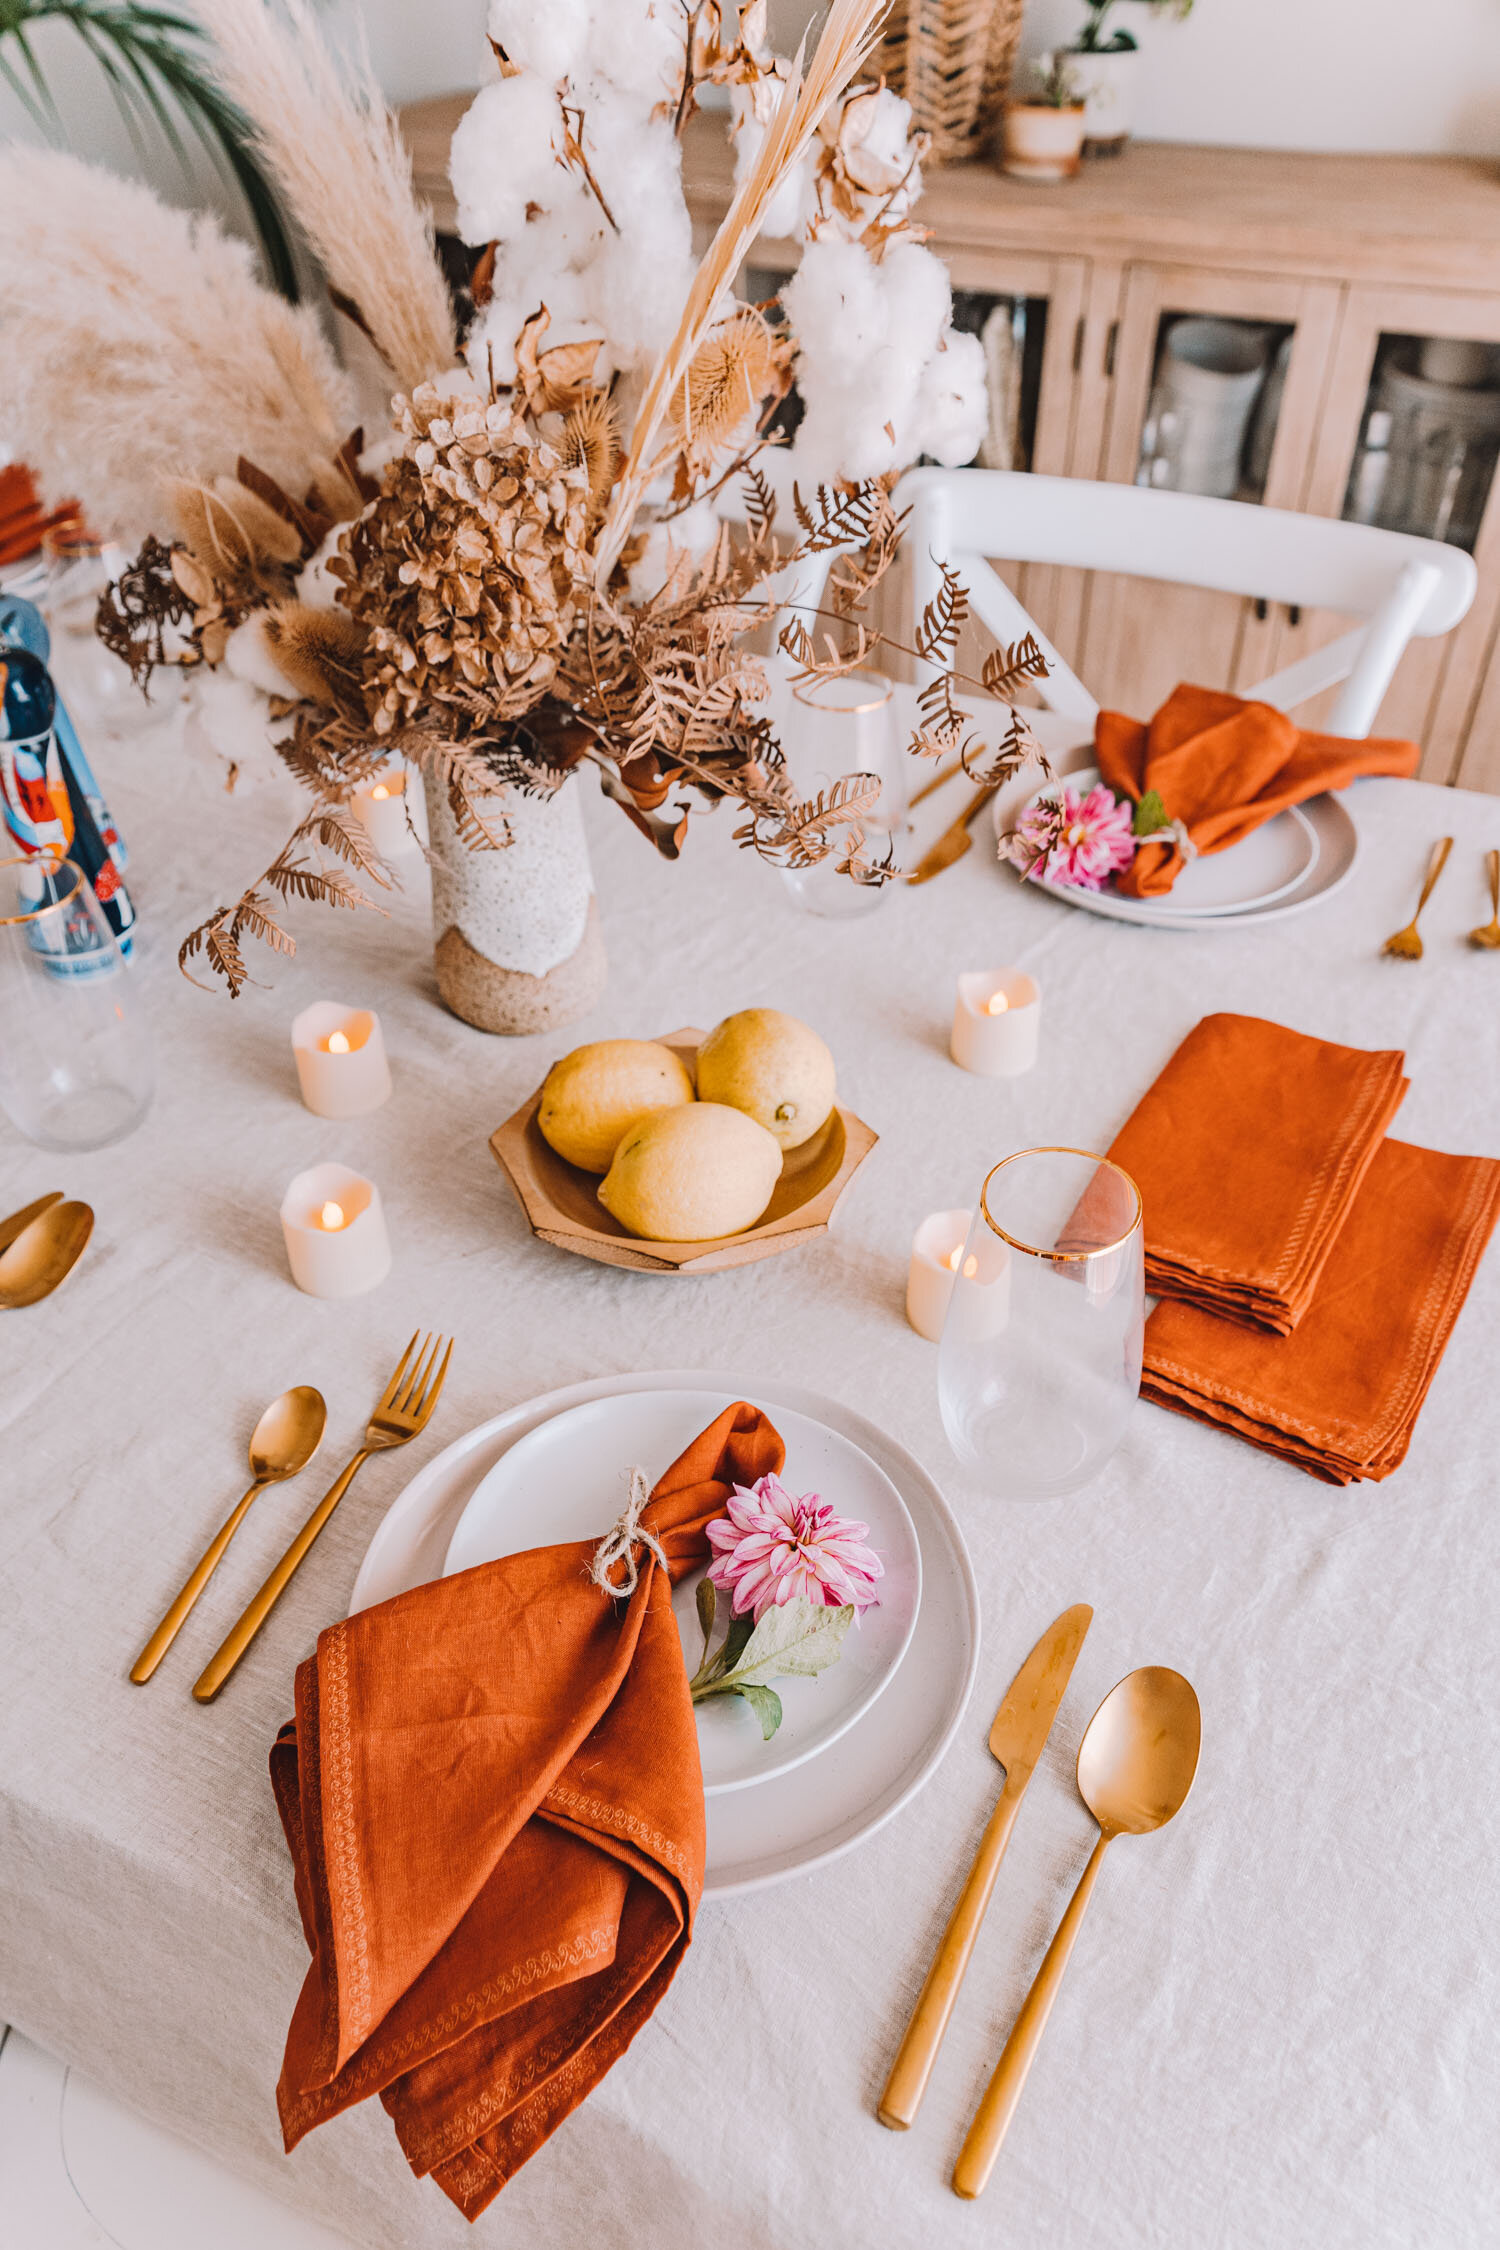
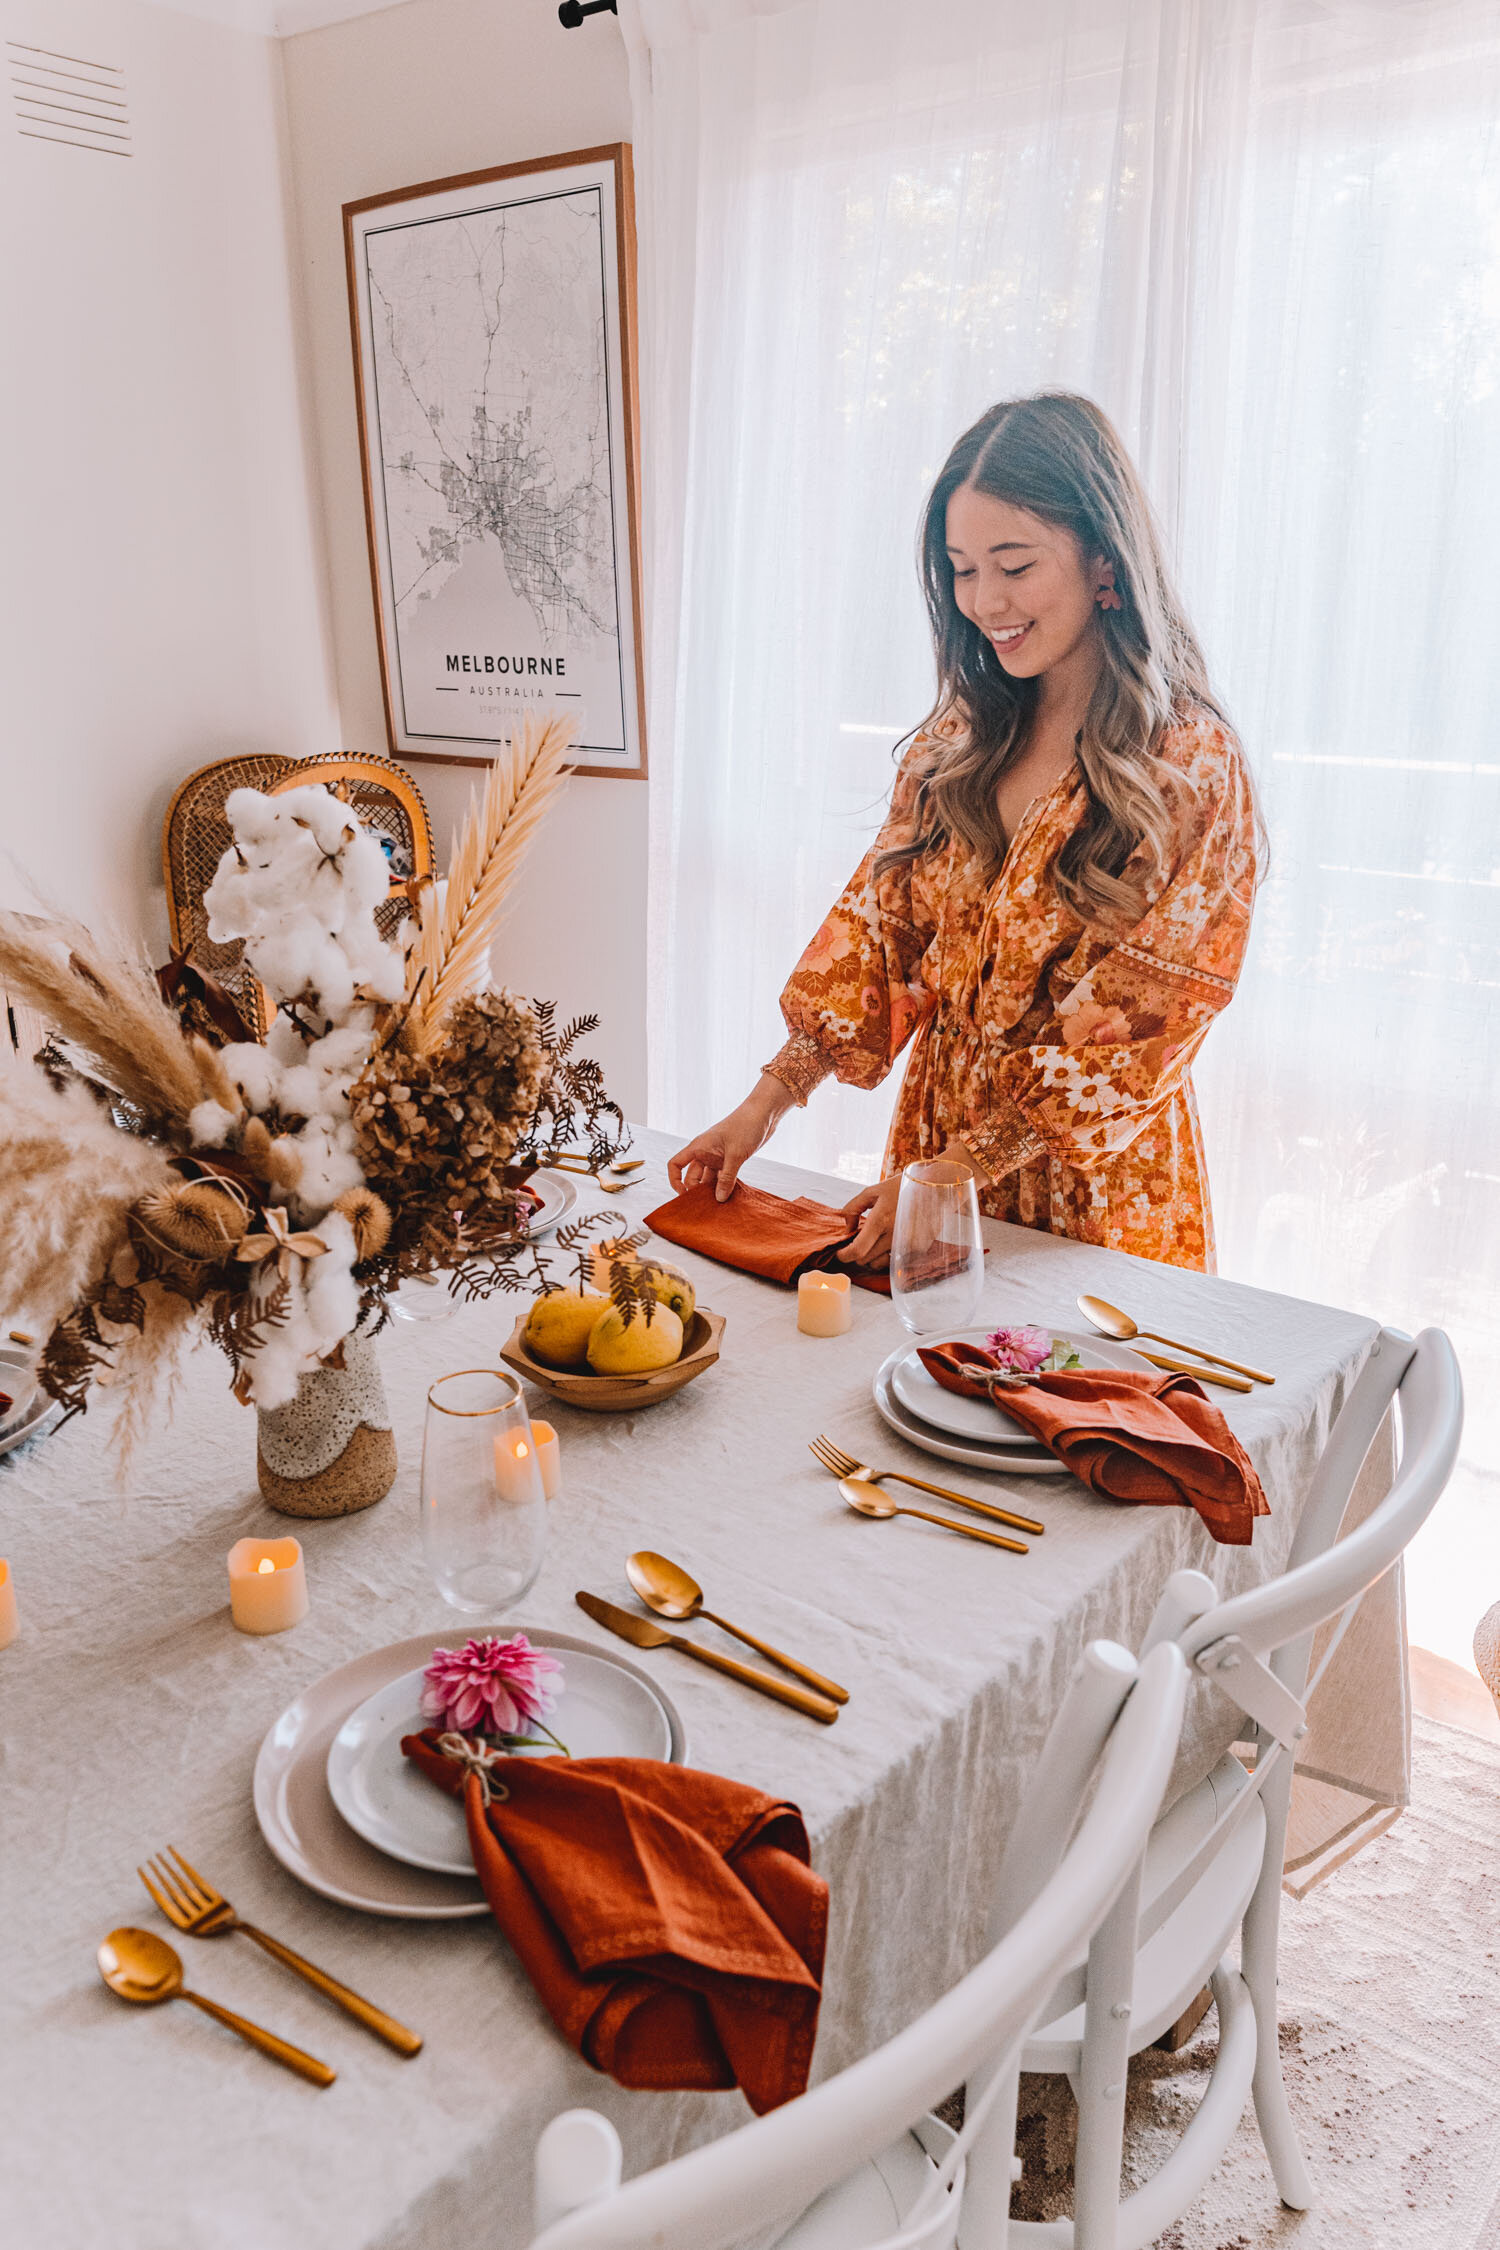
Ever since getting our very adult dining table, I’ve been in love with all the gorgeous table styling ideas that I see floating around on Pinterest. One thing that I love seeing time and time again are beautiful table napkins which are a great accent item on the table and can easily elevate any kind of table styling. I love decorating our dinner table settings with beautiful linen napkins but with so many colours to choose from, the costs of buying multiple sets of napkins can really add up! This is when DIY can come in handy because napkins are actually really easy to make at home and it’s cheaper to do so as well.
Today, I’m excited to share this sewing tutorial on how to make your own set of napkins for your home. Whilst you can make simple linen napkins with a straight stitch, I’ve decided to go fancy (cuz DIY means you totally can!) and do decorative stitches on my napkins. Of course, you don’t have to do this, but if your sewing machine has beautiful decorative stitches like mine, then this is the perfect opportunity to flaunt them! For this tutorial, I’ve chosen to make 50cm square napkins however napkins can really be any size you want. Since napkins are just squares, if you have fabric that is a certain size you can use it to calculate the maximum size of your napkins to minimise fabric wastage.
In collaboration with Janome Australia

YOU WILL NEED:
Makes 8 napkins approximately 50cm x 50cm in size. You can of course adjust your fabric measurements to make whatever size napkins you wish!
2.2 metres of linen that is minimum 1.1 metres in width (I always prefer natural fibres over synthetics so would recommend making table napkins out of linen, cotton or a cotton linen blend. I personally love the feel of linen as well as its beautiful natural texture so this is the fabric I will be using today)
Matching (or contrasting!) thread
Sewing machine (I’m using my dream, the Janome DC6050 Computerised Sewing Machine)
Ruler
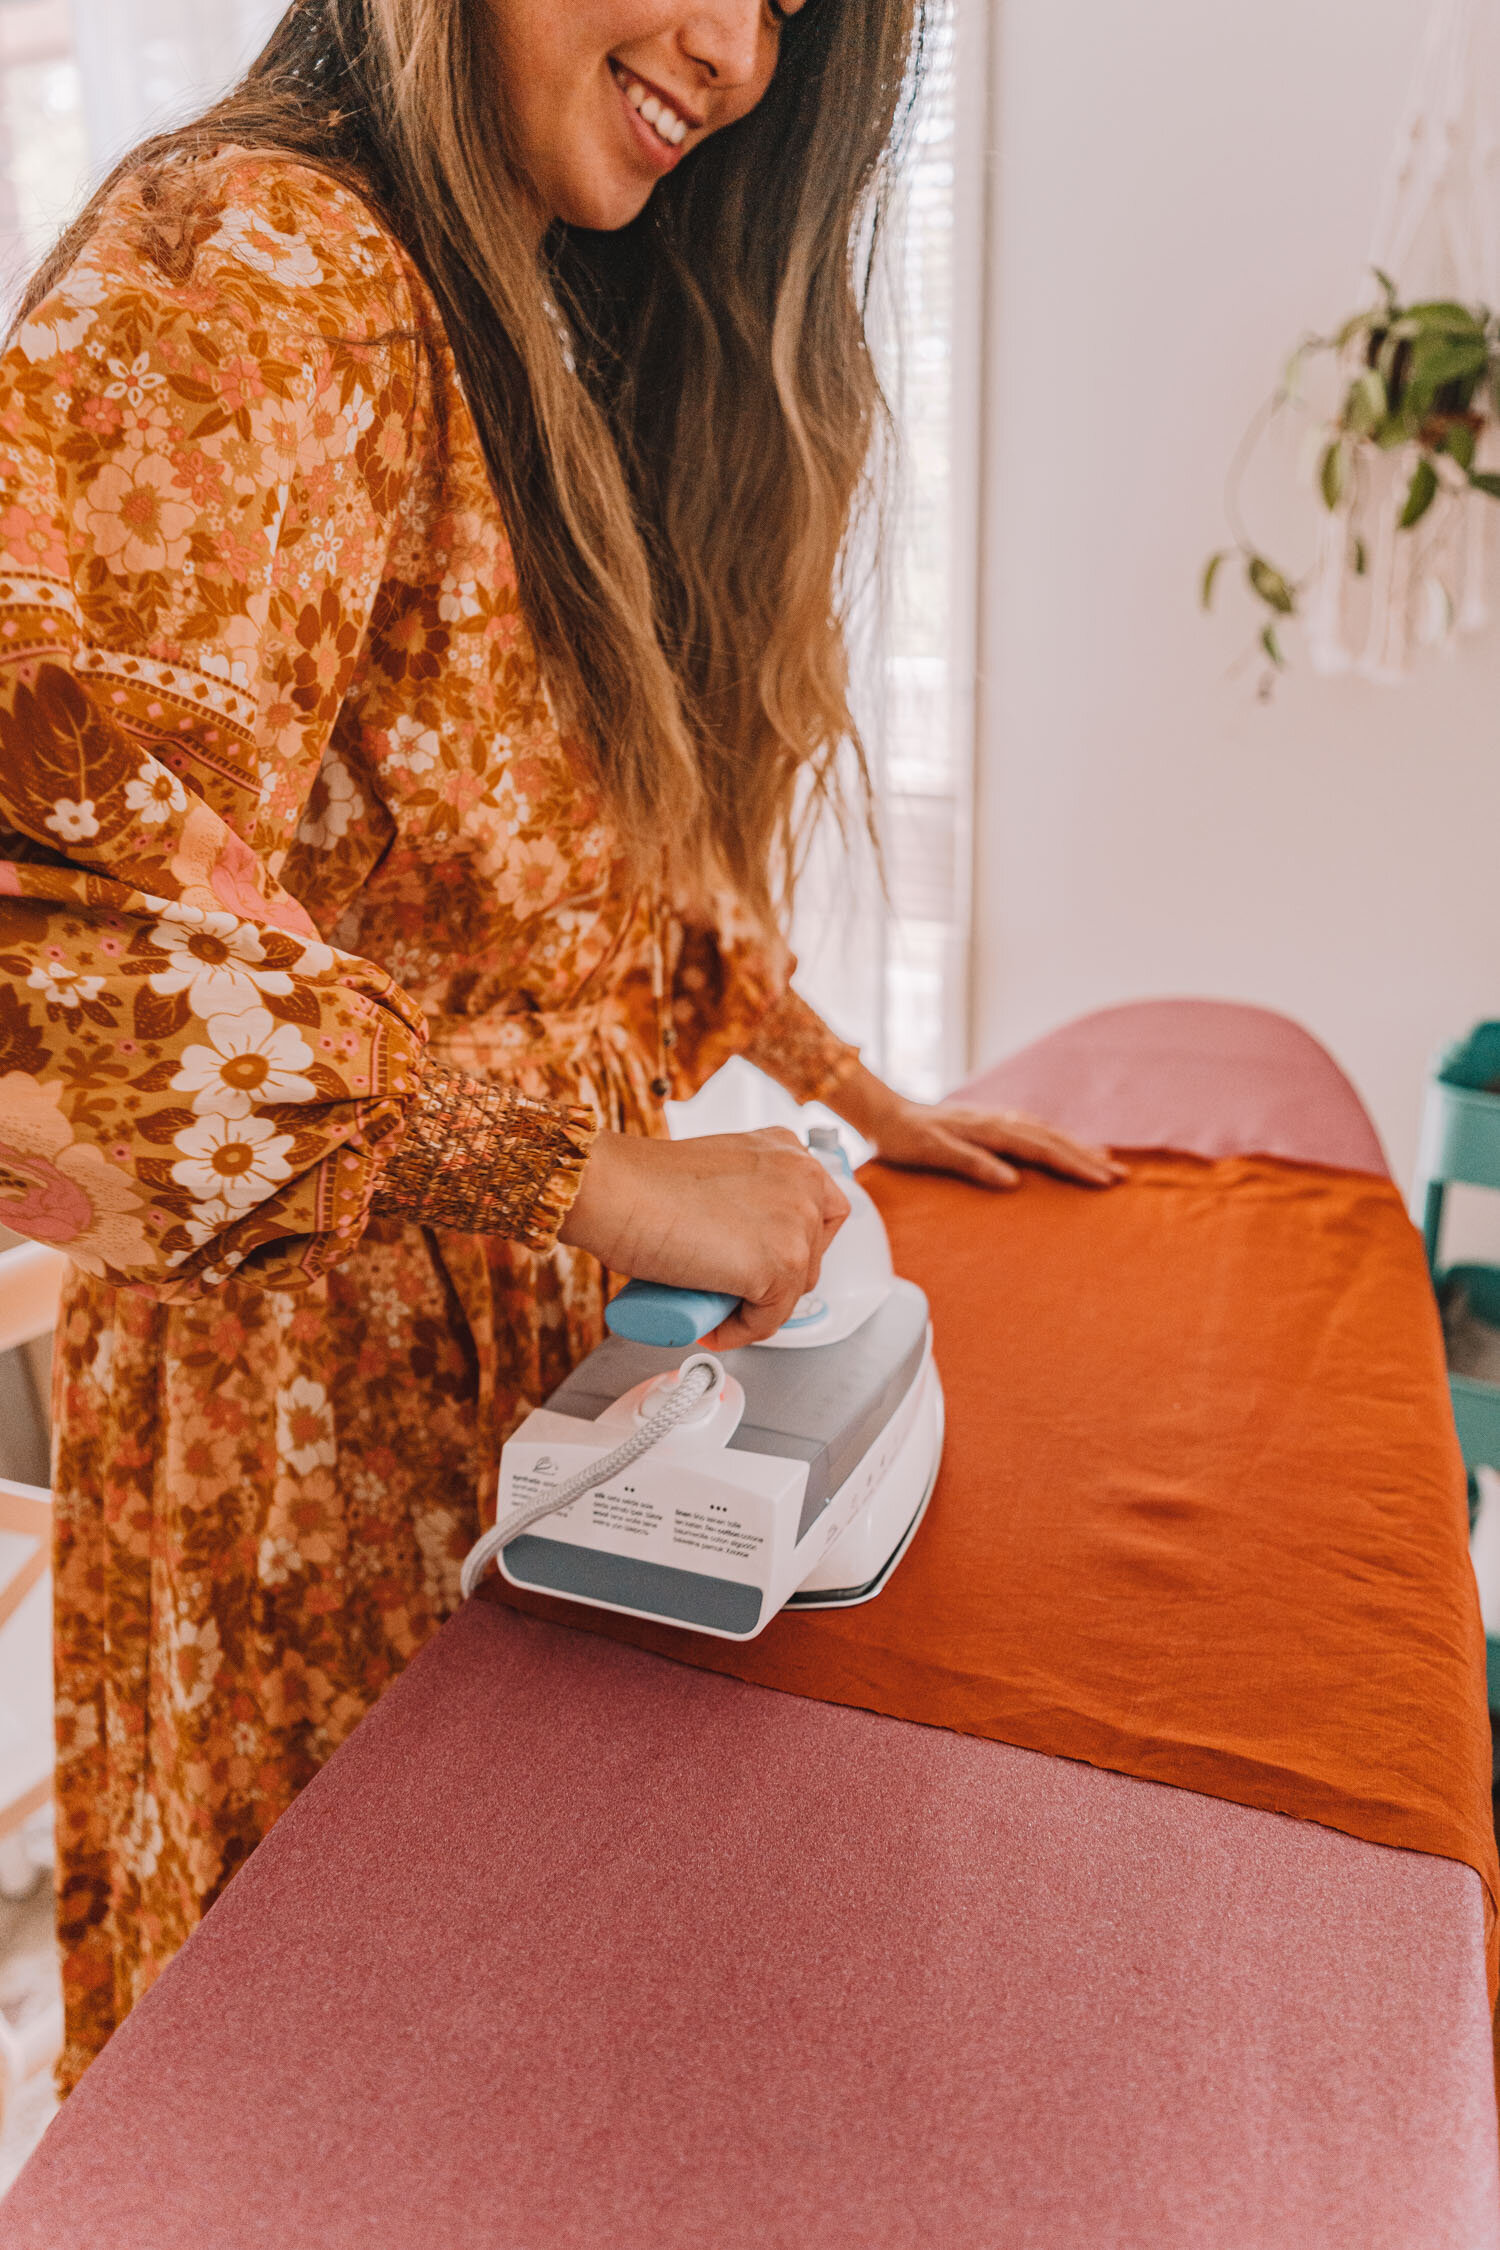
Iron + Ironing board. Note: Ironing is absolutely crucial in creating beautiful napkins so do not try and skip this step!
Scrap fabric (optional) for testing decorative stitches

INSTRUCTIONS:
Wash and dry the linen fabric to account for any shrinkage.
Cut 8 pieces of squares measuring approximately 53 x 53 cm in size.
CUTTING TIPS: I find it easier to use the first square I cut out as guides to cutting the rest of my squares. Napkins can be flexible in size and as long as they’re all the same size it’ll look great in a set!
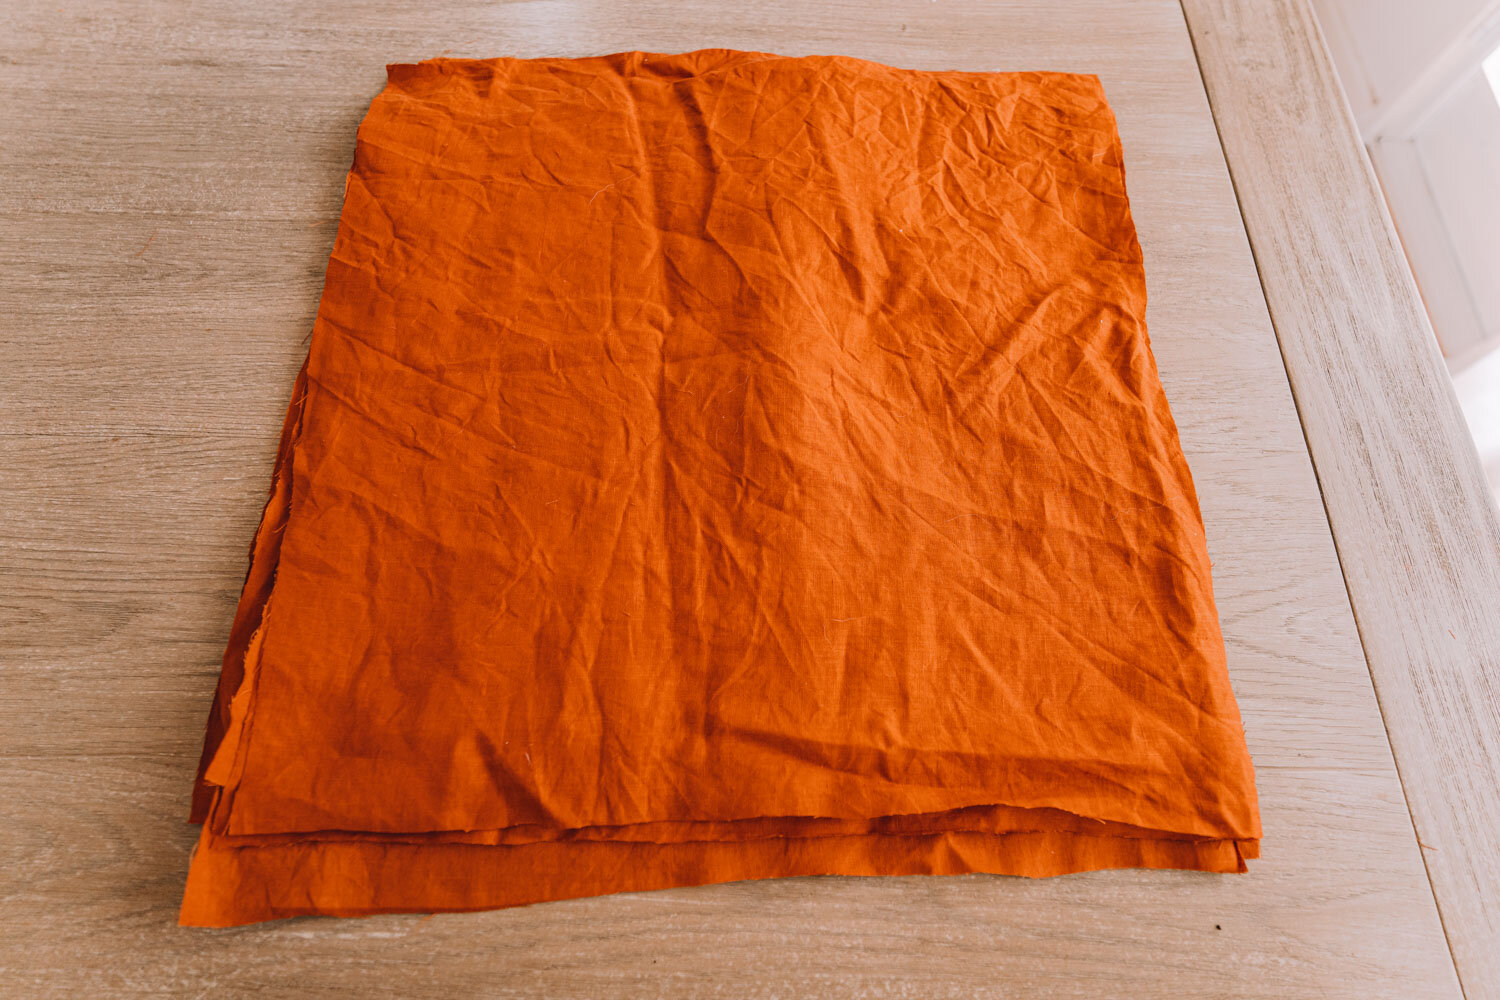
3. Iron all your fabric pieces flat for a nice and neat start.
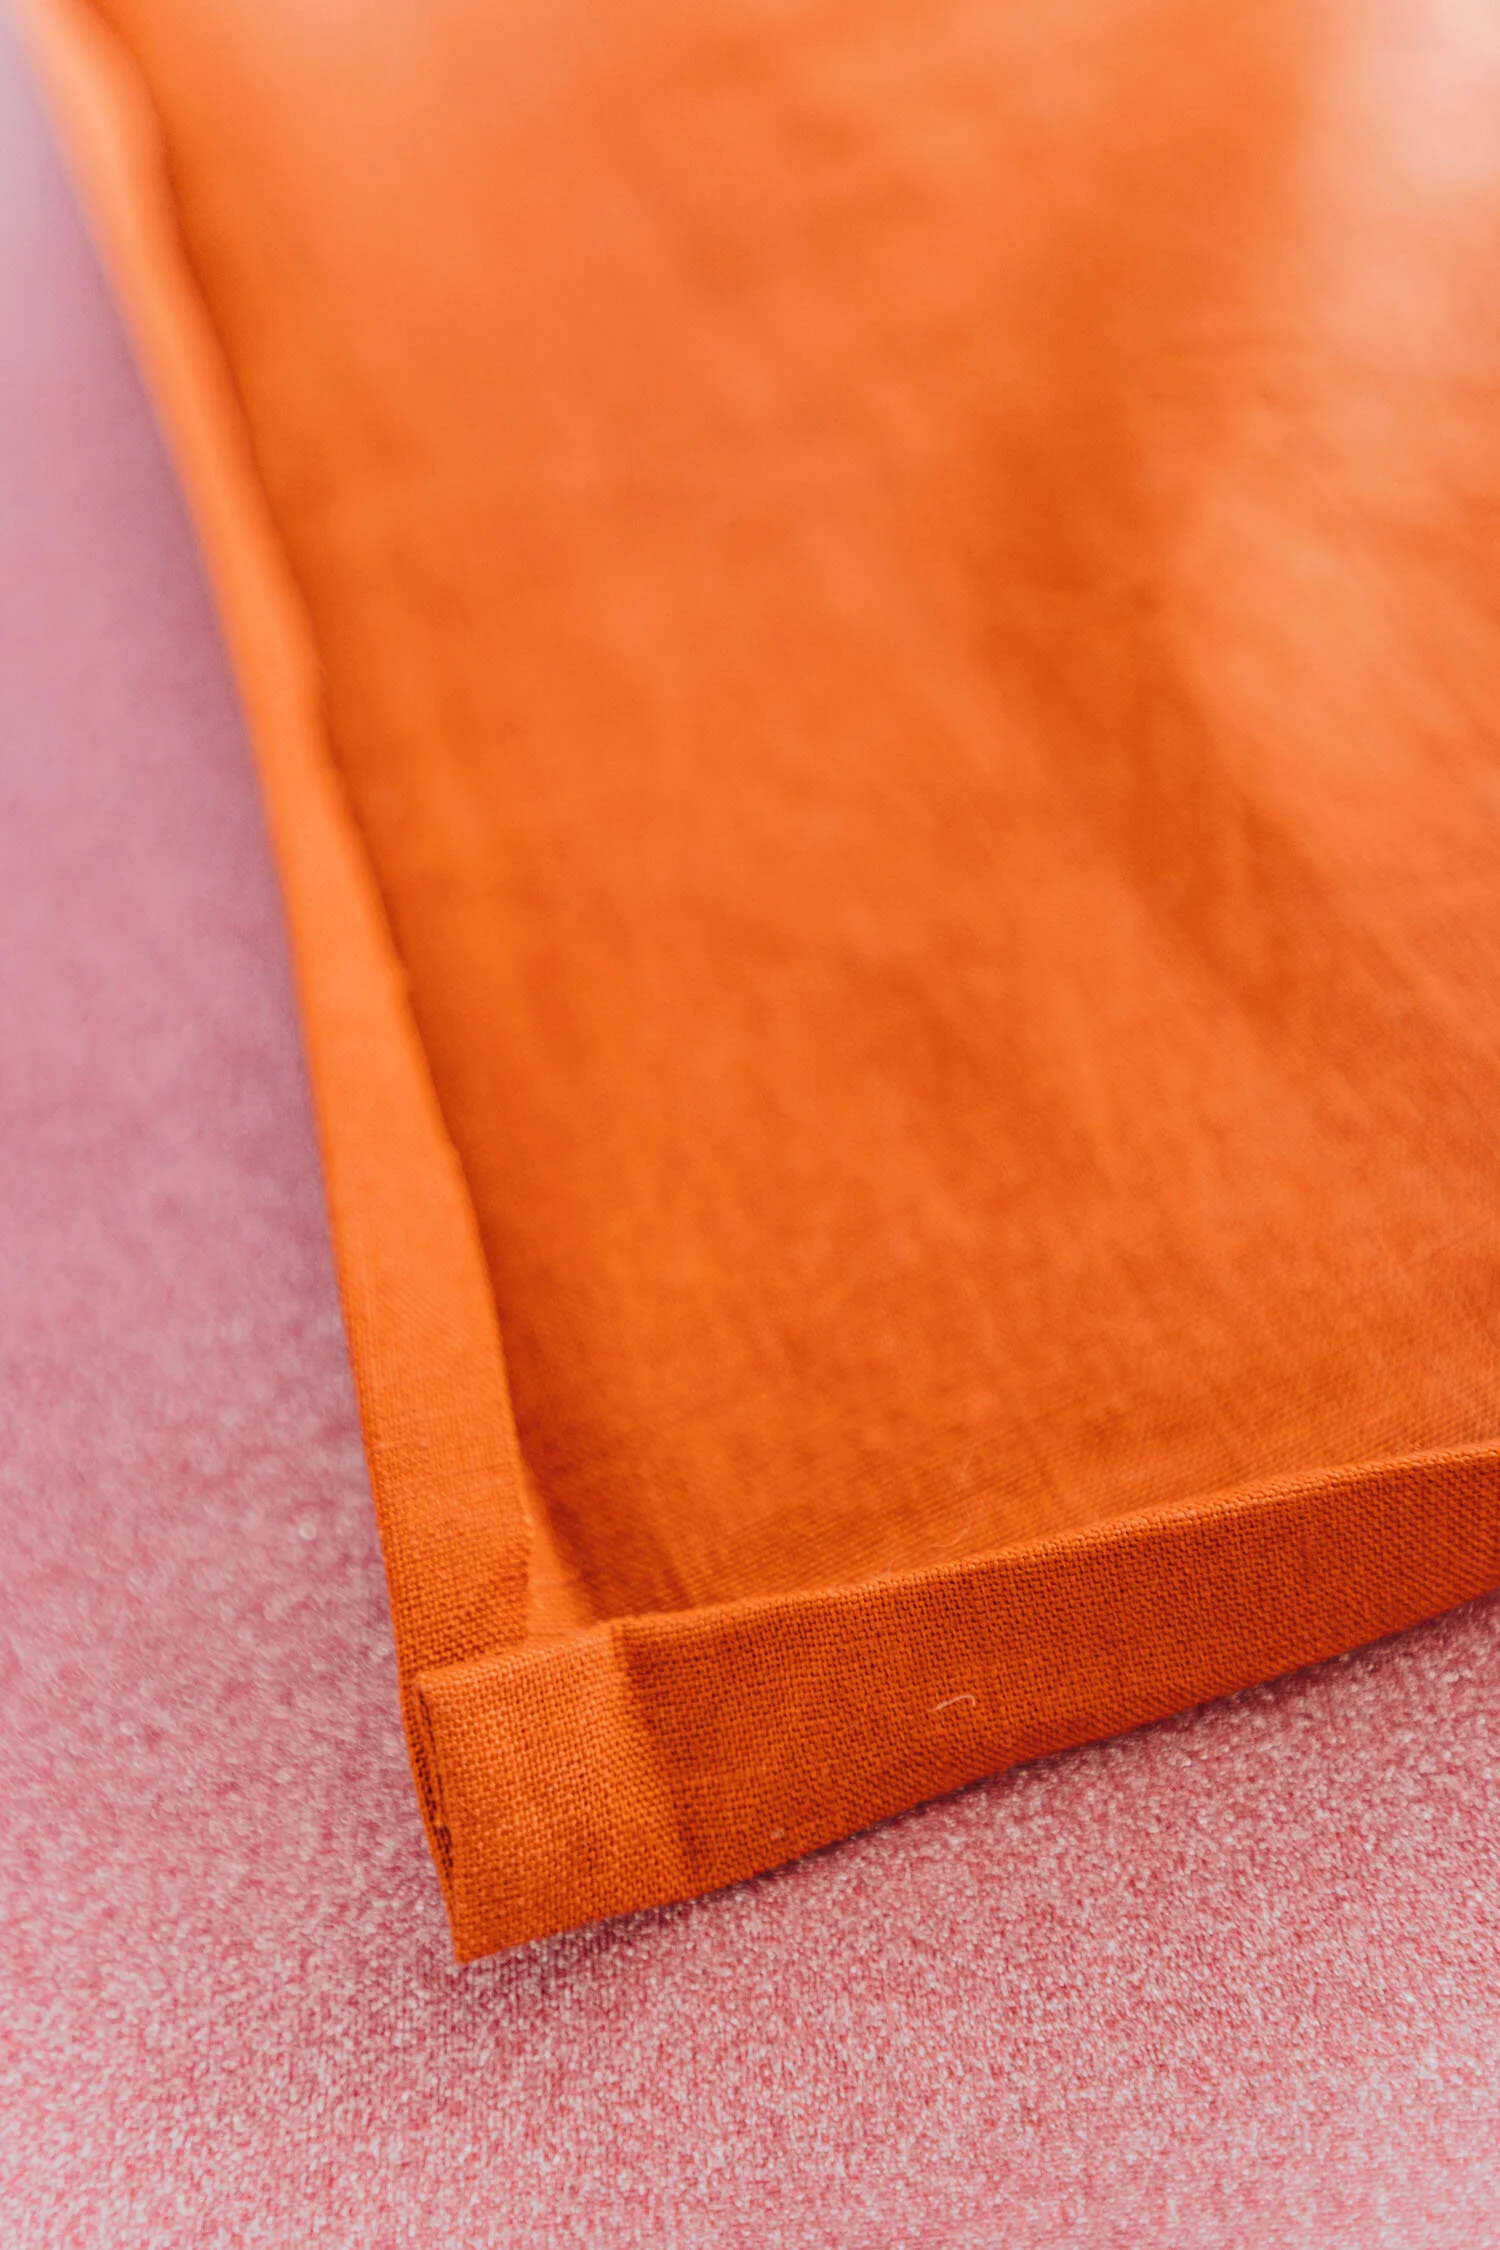
4. Next, fold each edge of fabric in by 0.5cm and press down with your iron. Then fold each edge in again by 1 cm and press again with an iron. Make sure all the corners are lined up as neat as possible.
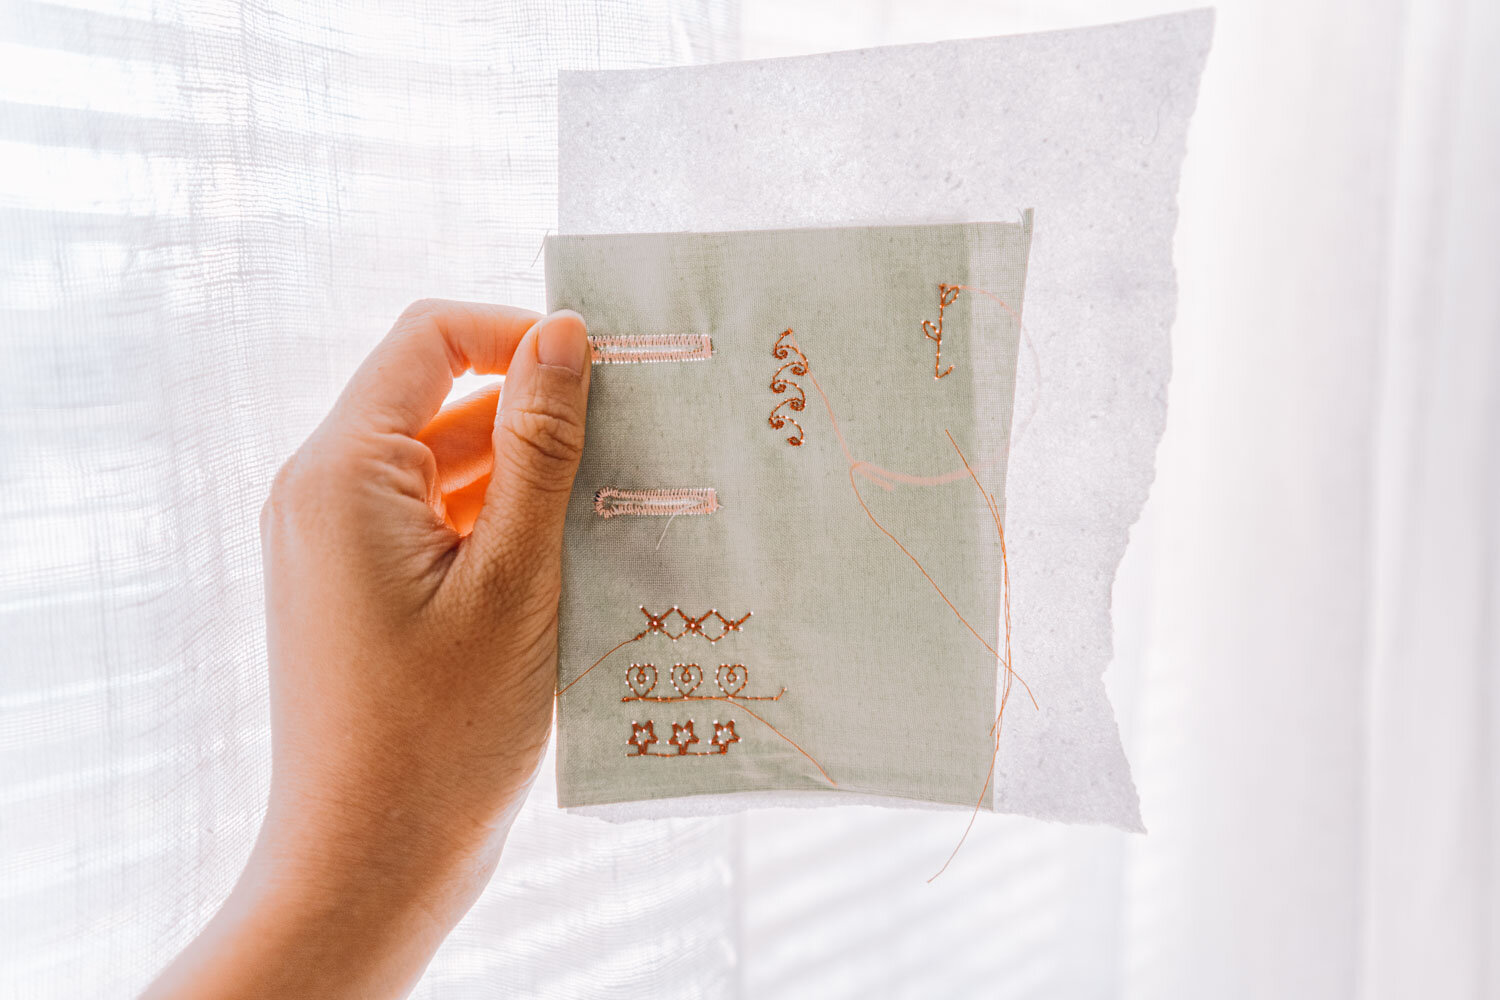
5. It’s time to decide how to stitch up your napkins! Usual linen napkins that you find in stores are finished off with a simple straight stitch. However, as a project like linen napkins is the perfect opportunity to use all those beautiful decorative stitches that are often built into sewing machines, I highly suggest creating your linen napkins with a decorative stitch to add a bit of fun and creativity to the project. When using decorative stitches or built-in stitches you aren’t familiar with, it’s best to test them on a piece of scrap fabric first so that you can see how they sew.
My Janome DC6050 has so many beautiful decorative stitches I swear half the reason I wanted to make my own napkins was so that I could use these stitches! Anyway, pictured below are some of them. I decided to use the crosses, hearts, stars and little squiggly pattern on my napkins because I thought they’d look best on a napkin. That’s stitch number 46, 47, 48 and 49.
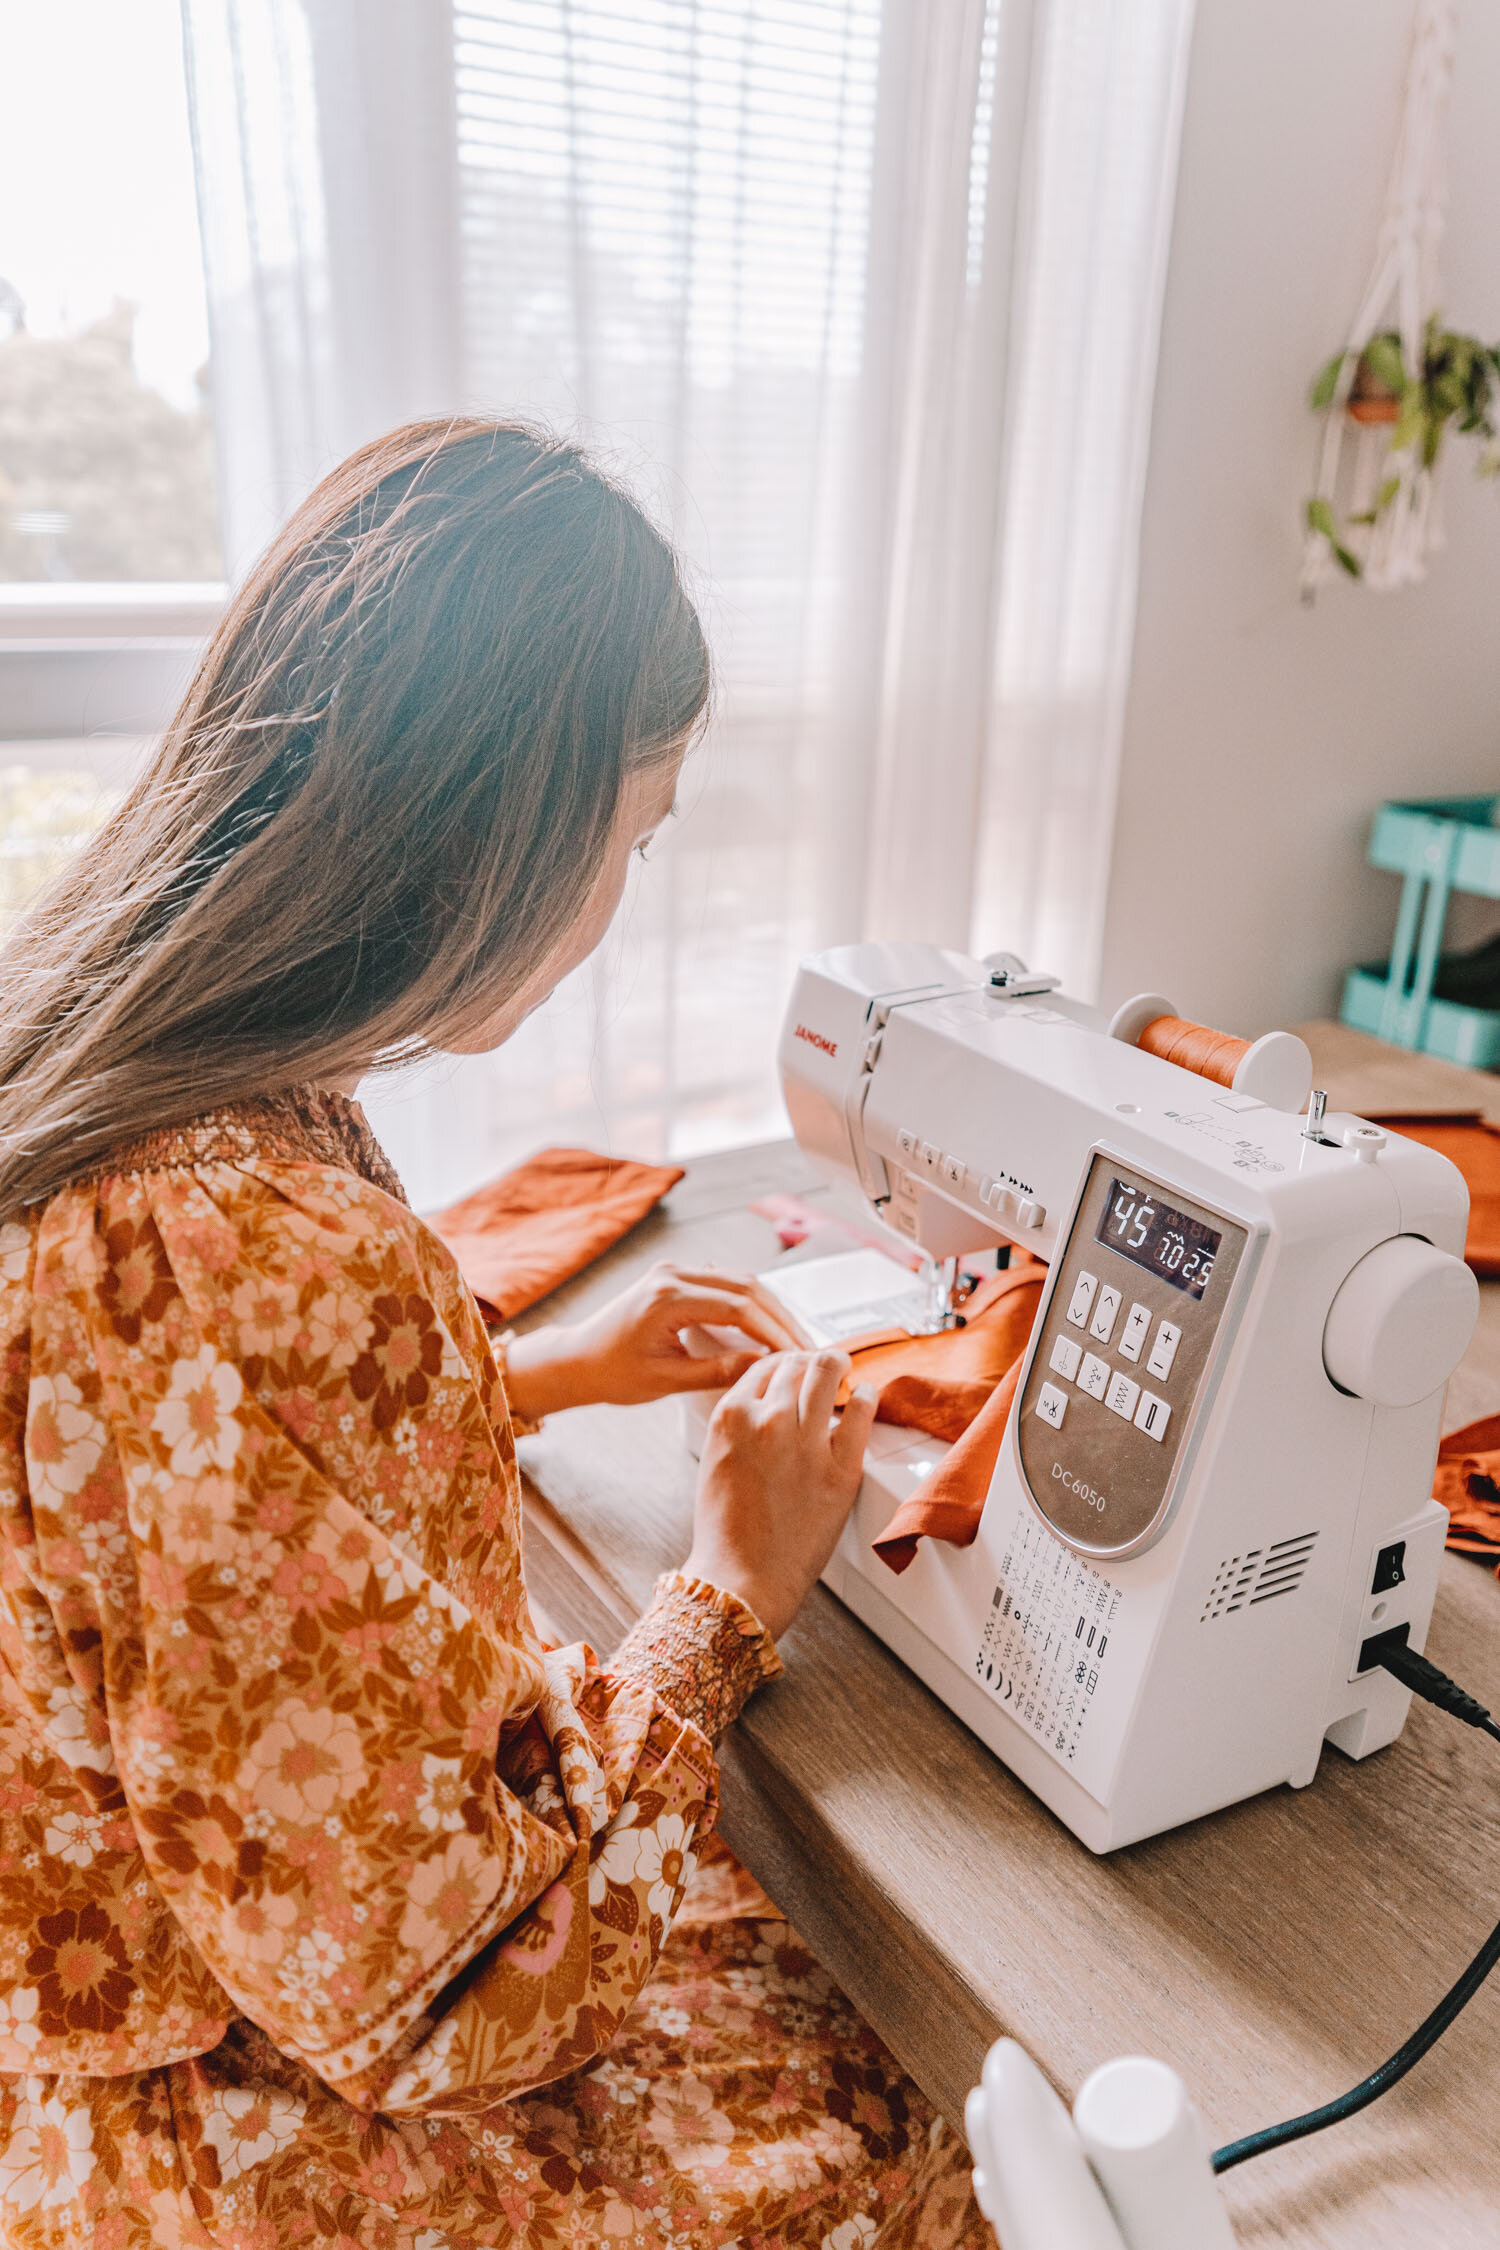
6. Using your chosen stitches, sew carefully around your napkin, securing the ironed-in seams. Make sure you backstitch at the start and end of each stitch. If you’re doing a decorative stitch, make sure to go slowly until you’re confident. However, even if you do go fast, it’ll still be quite a slow stitch as decorative stitches are more dense so take longer to sew.
Tip: as decorative stitches also use up more thread, do keep an eye on your bobbin* to make sure there’s still thread inside as the last thing you want to be doing is thinking you finished a napkin when your bobbin ran out ages ago!
* I have to admit the drop-in bobbin on the Janome DC6050, where the bobbin goes in from the top and you can see it without opening the case, is actually a super useful feature as you can keep a hawk-eye on your thread and make sure it’s not running out. The old sewing machine that I used didn’t have this feature and now I can’t imagine living without it.


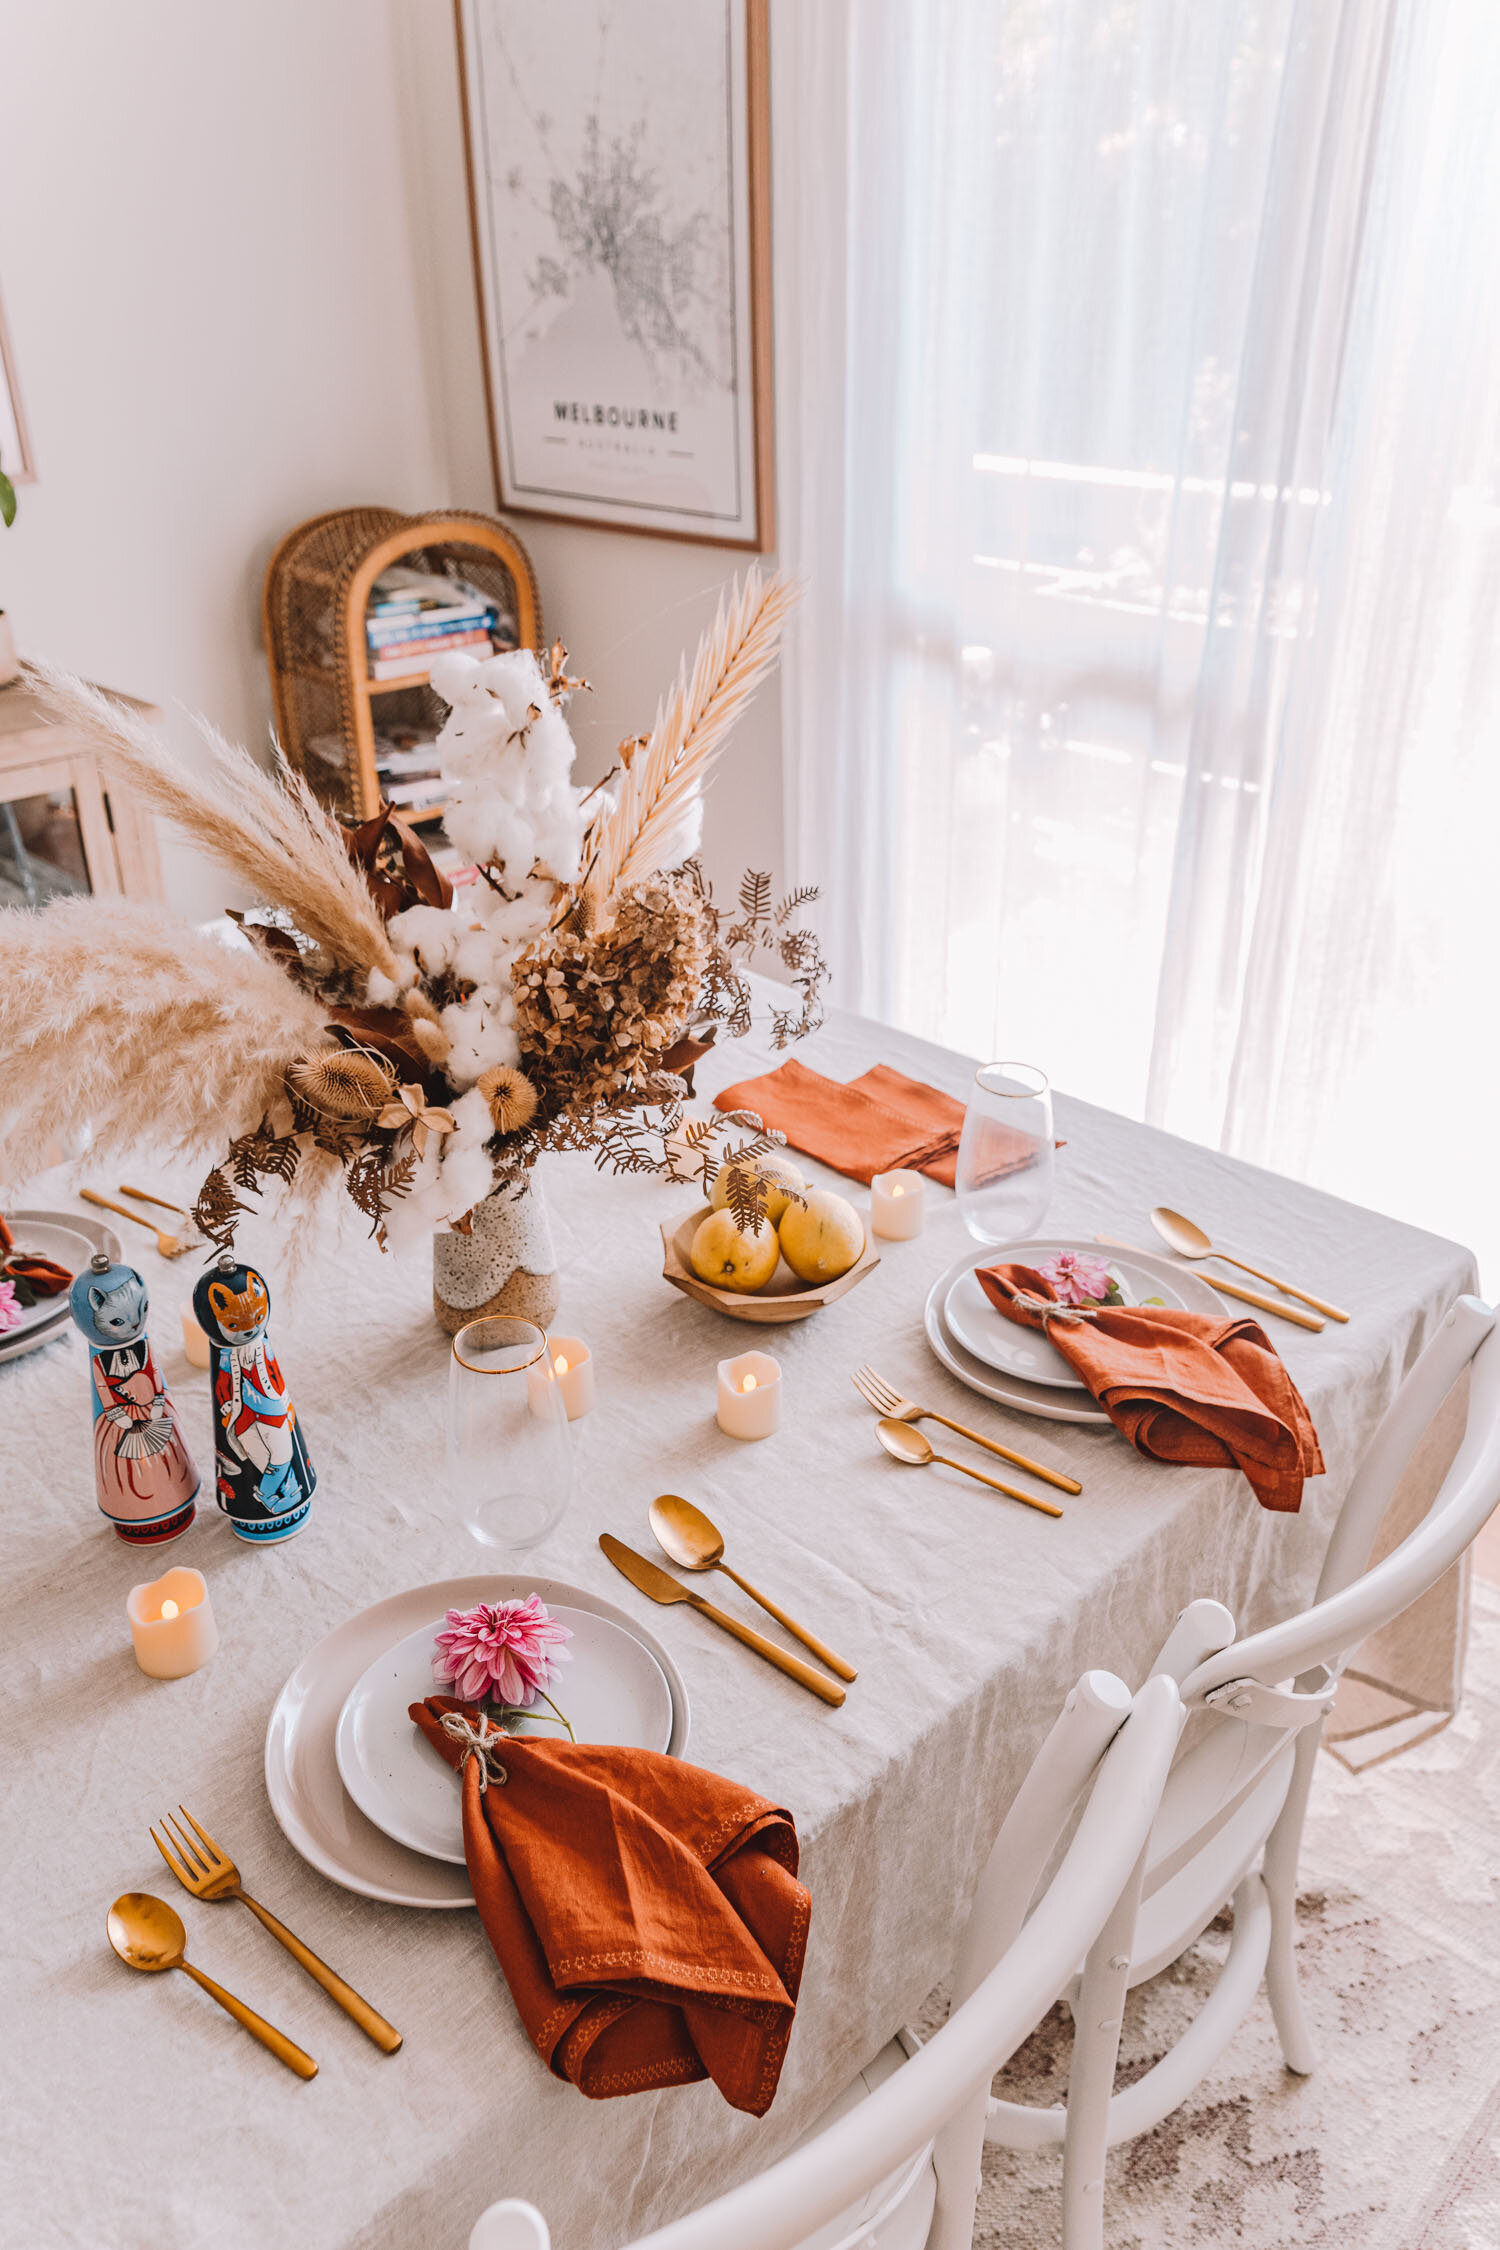
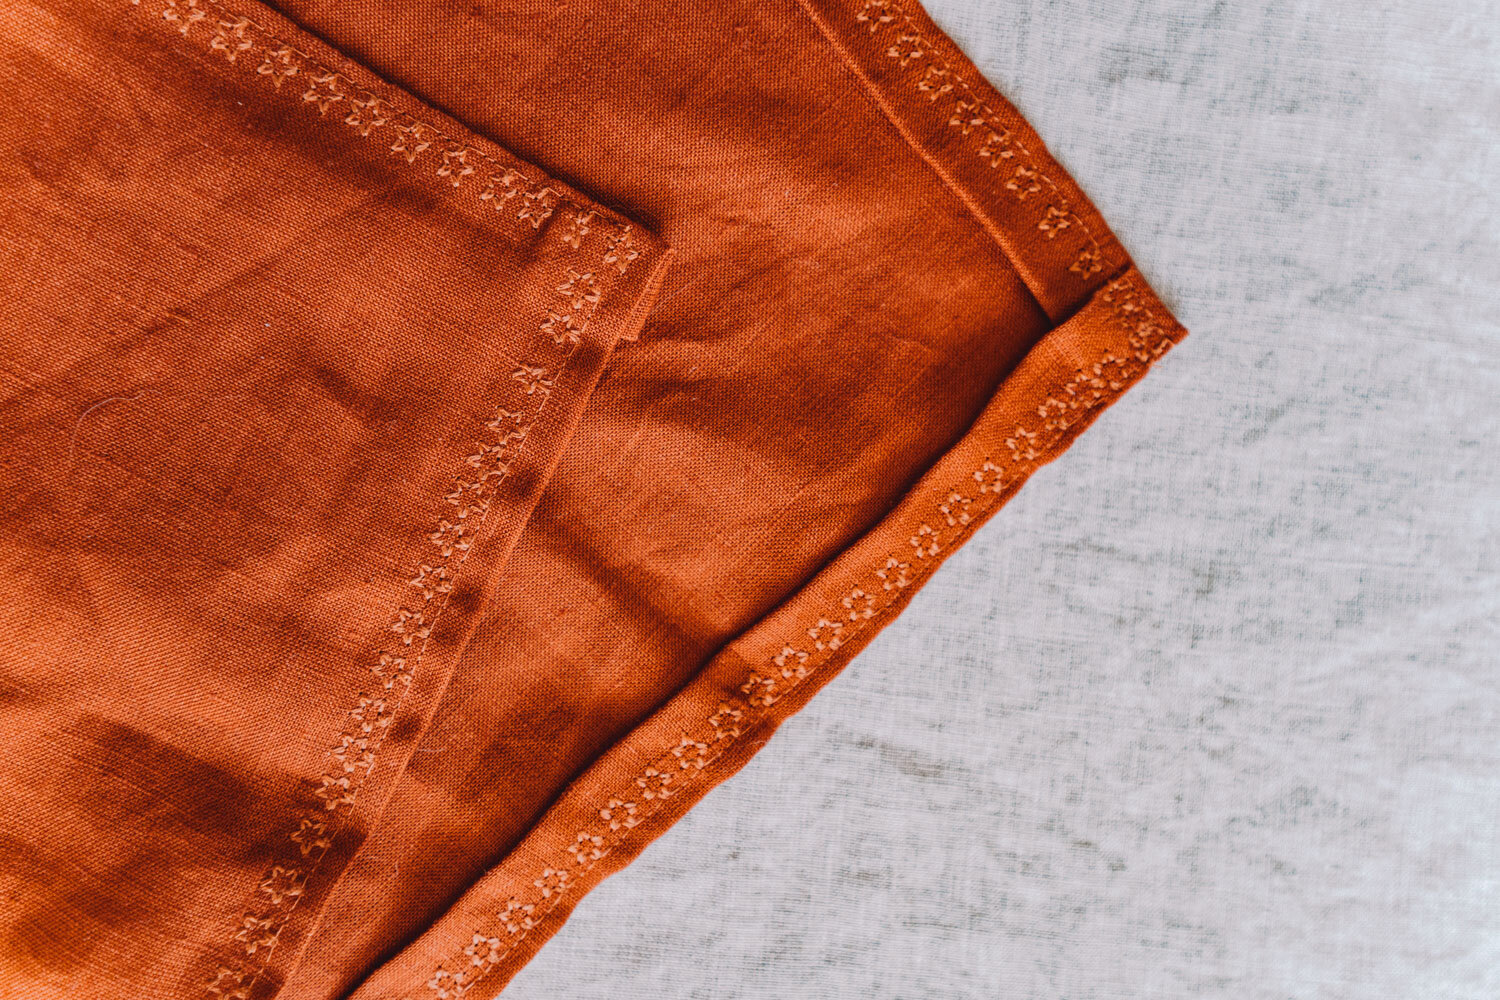
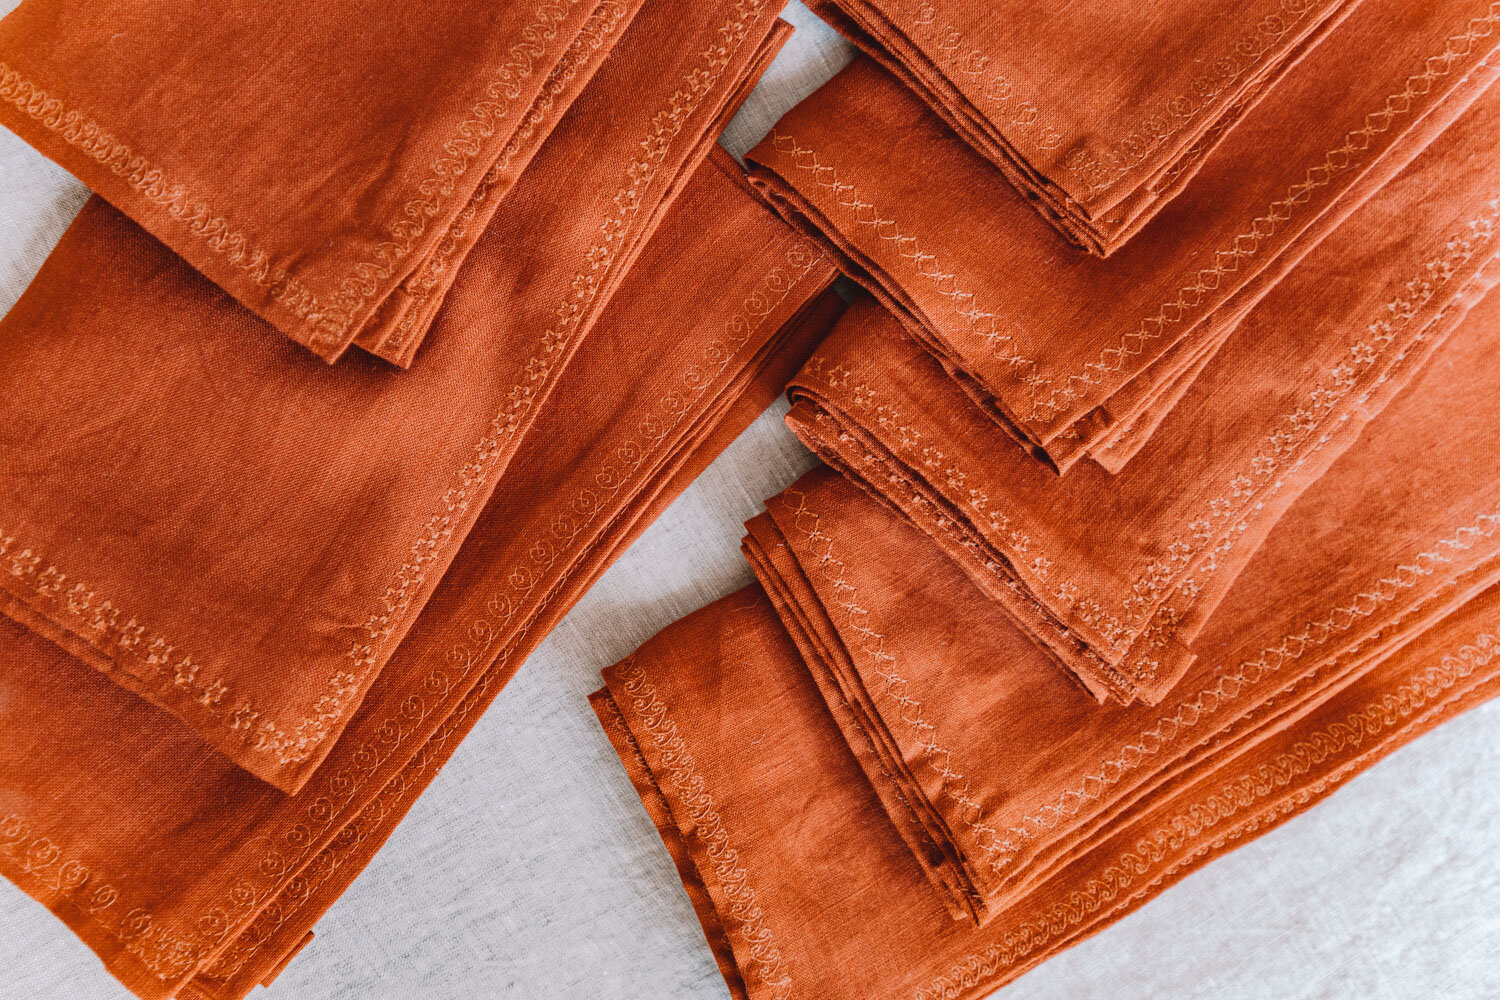
7. Your napkins are done! As I wanted to try four different stitches, I did two napkins in each stitch which you can see below! I love how the napkins look cohesive together as a set but when you look closely, each napkin is special with a different stitch used!

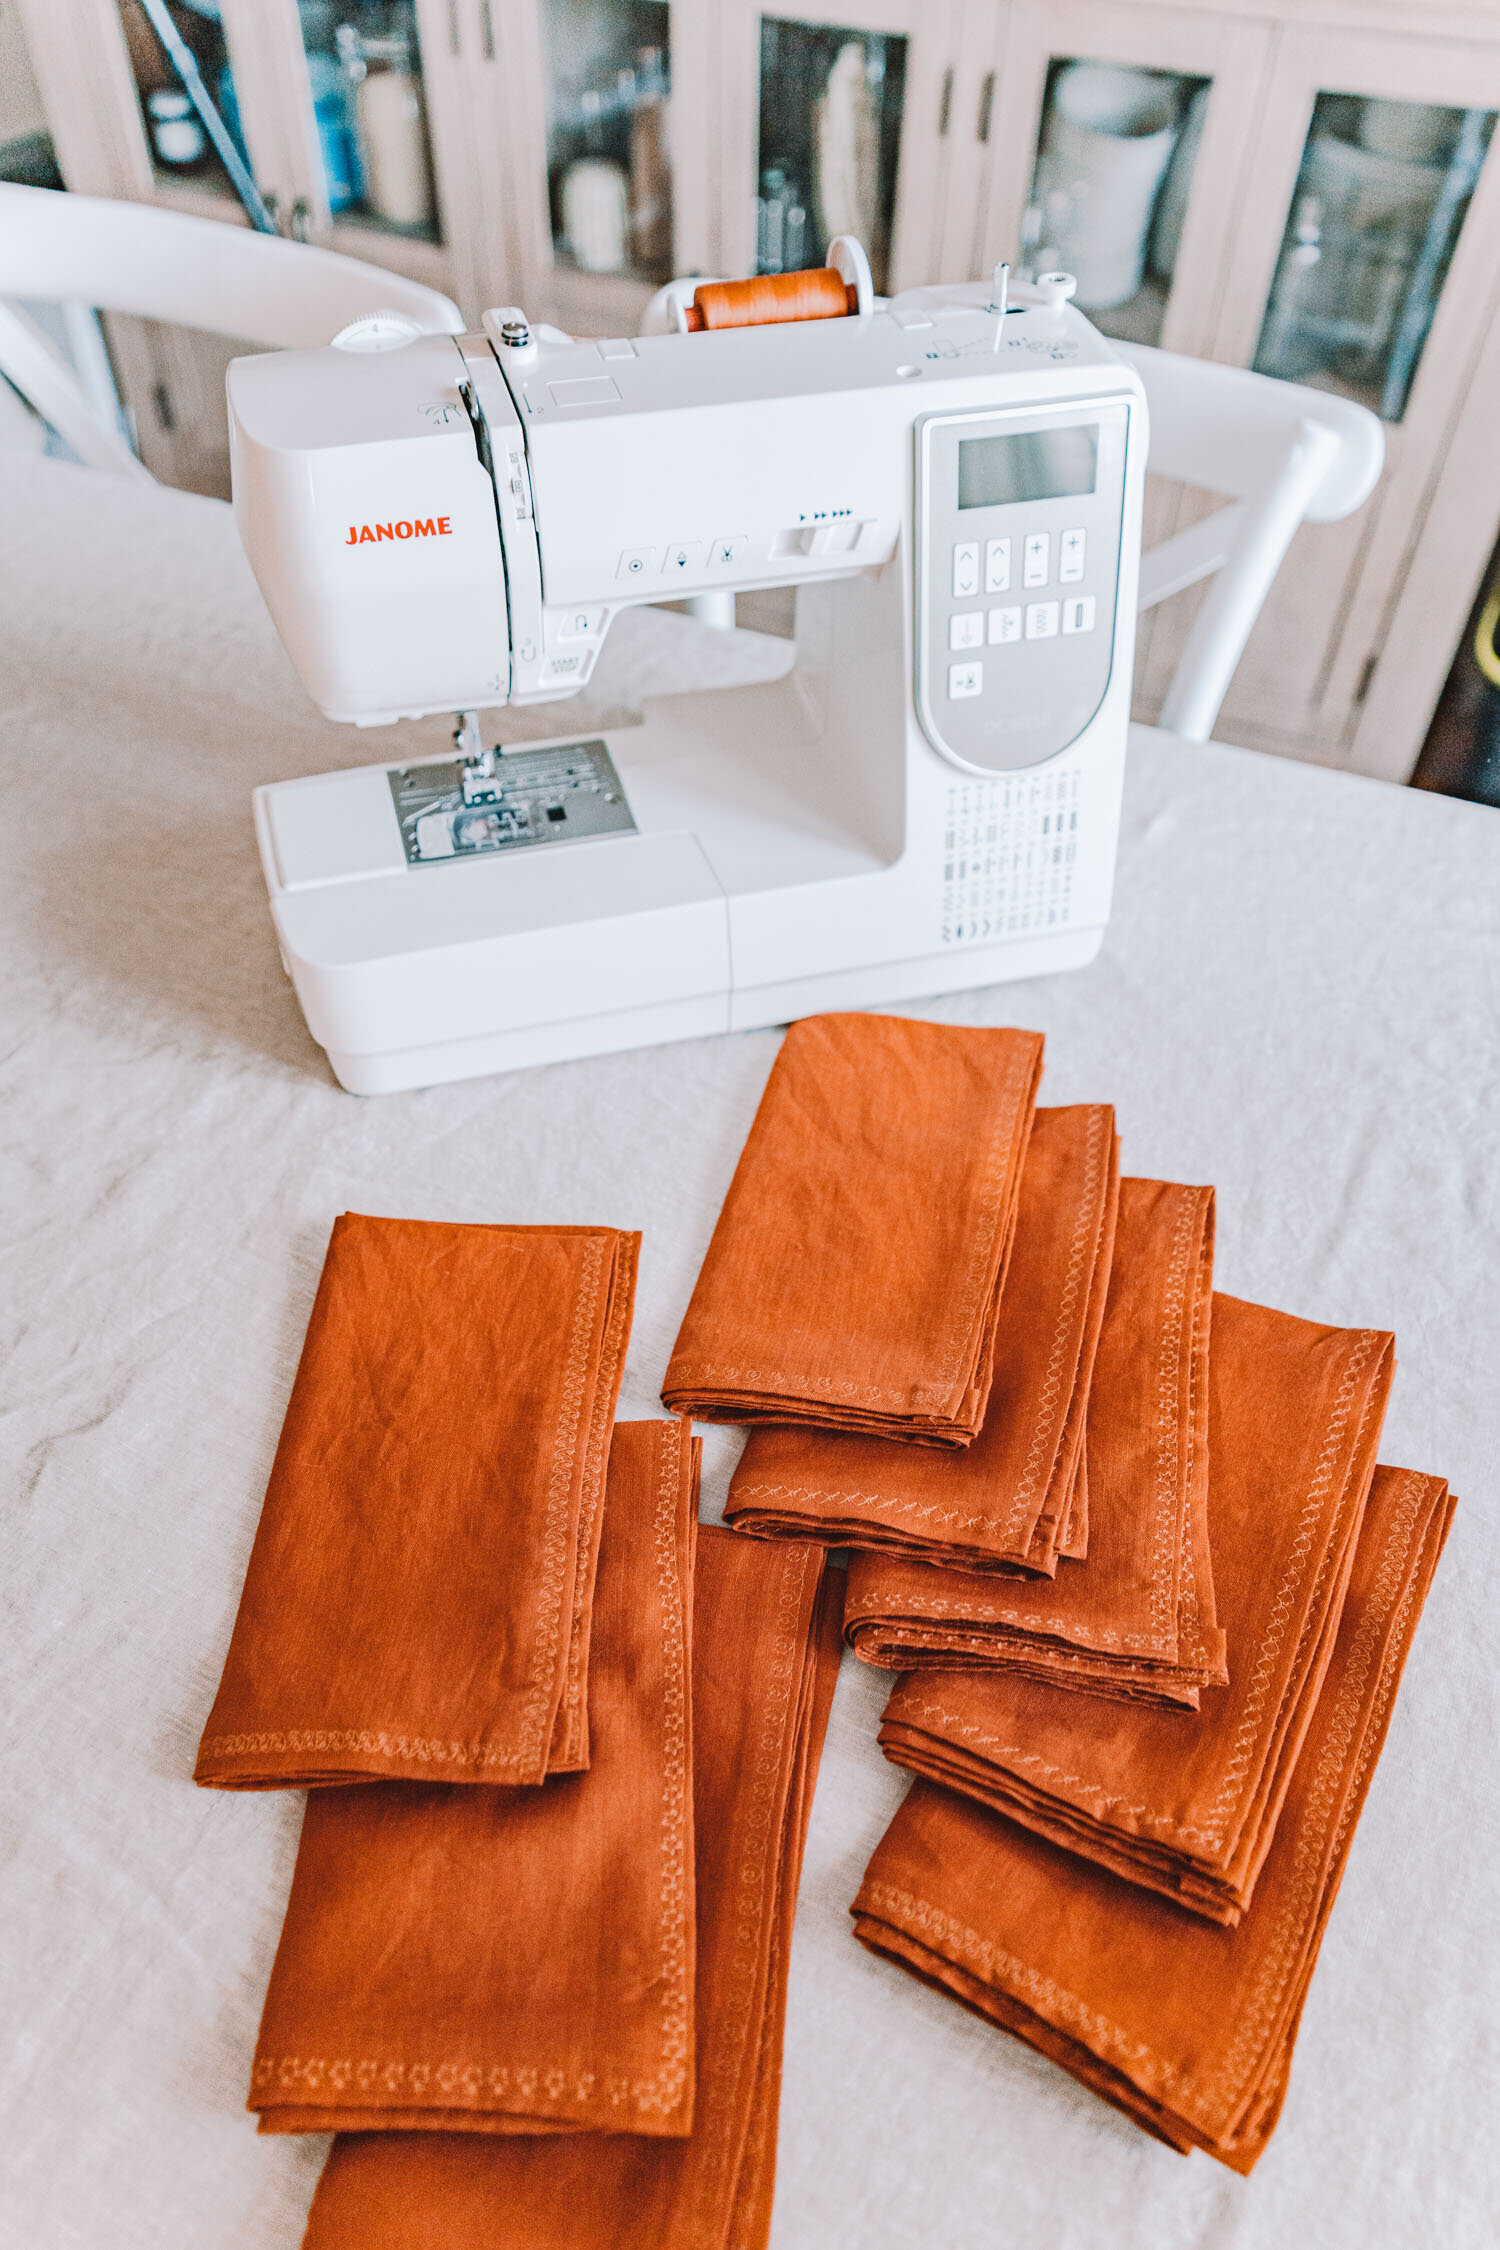
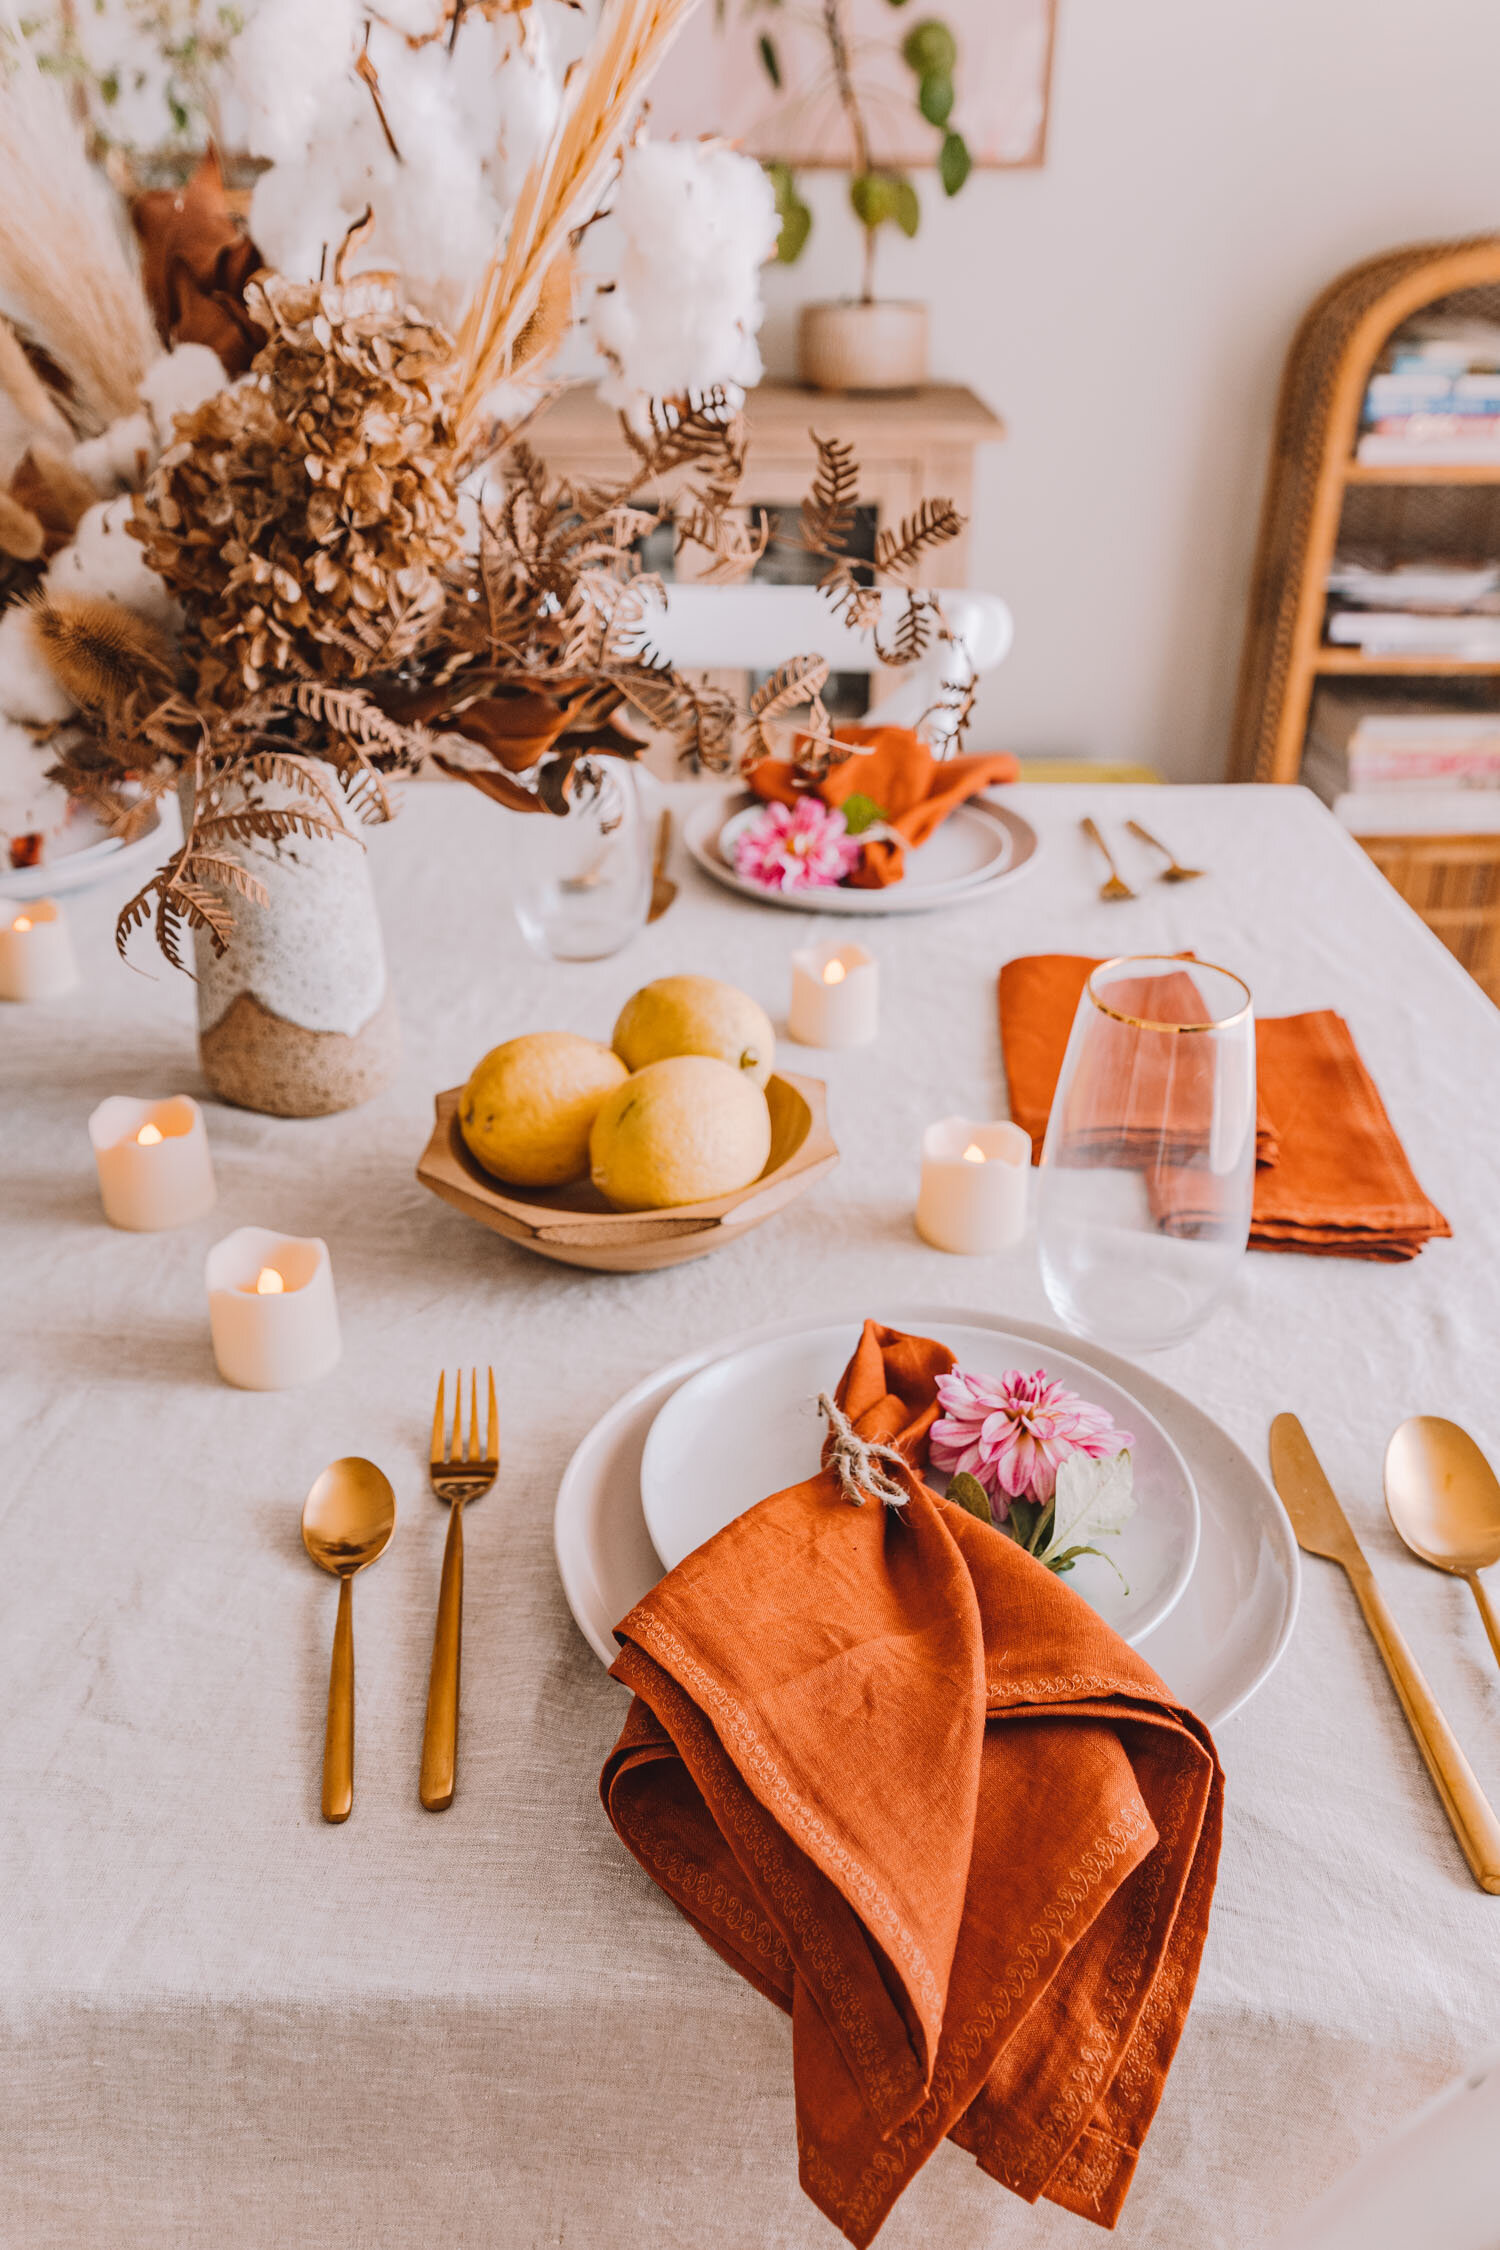
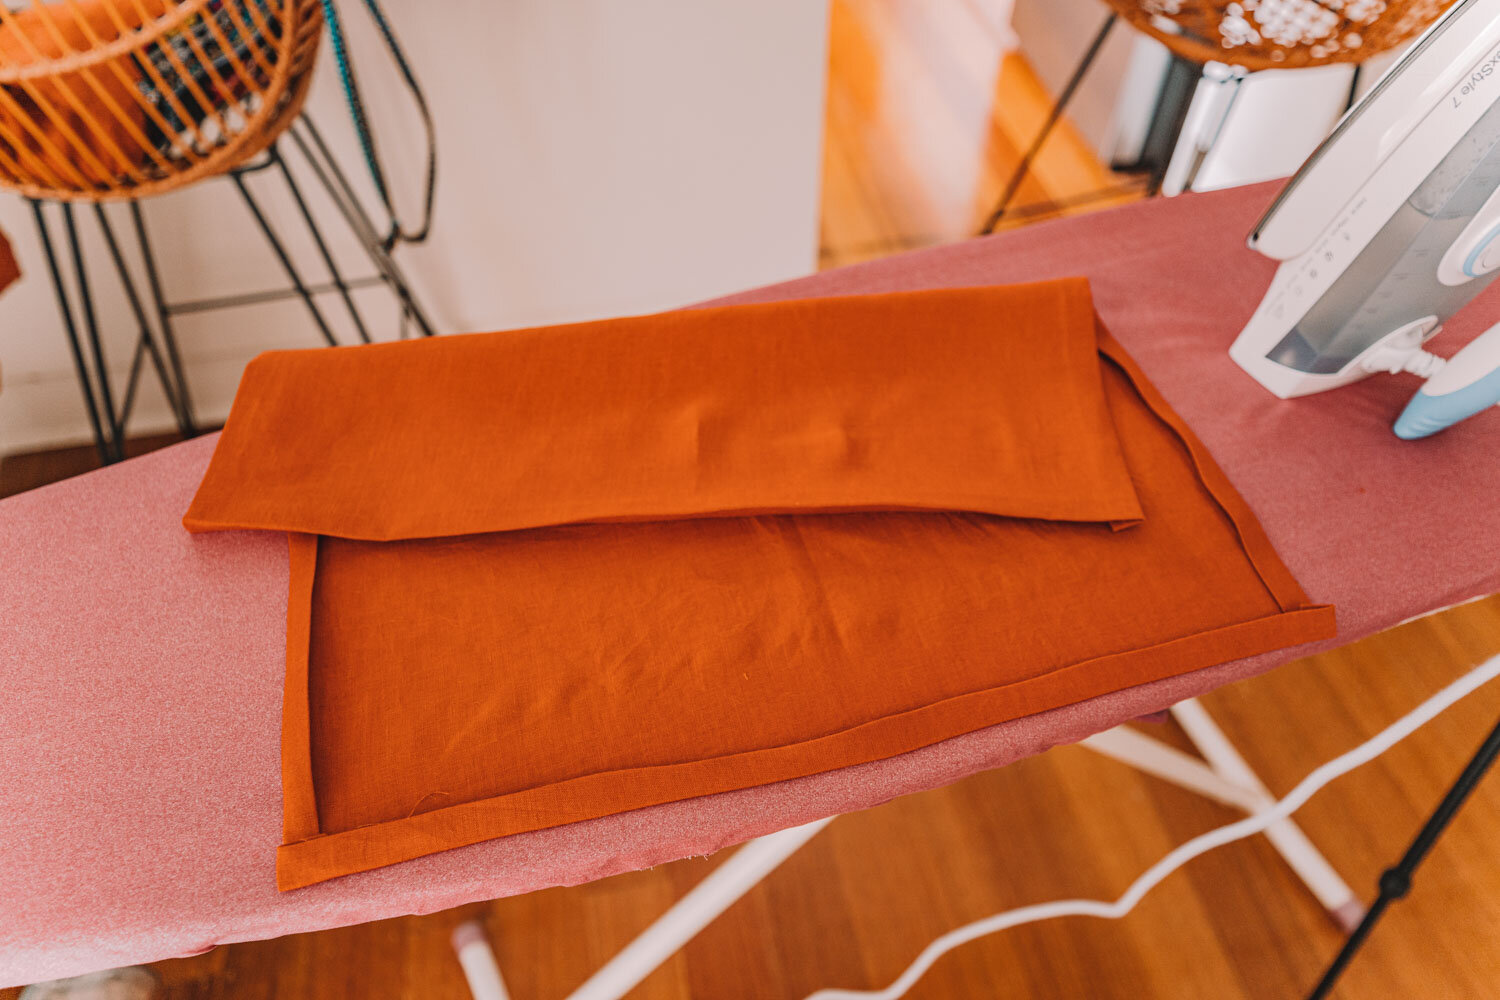
8. For a super professional look, fold your napkins up and give them a final press with the iron. It makes a major aesthetic difference and looks soo good!
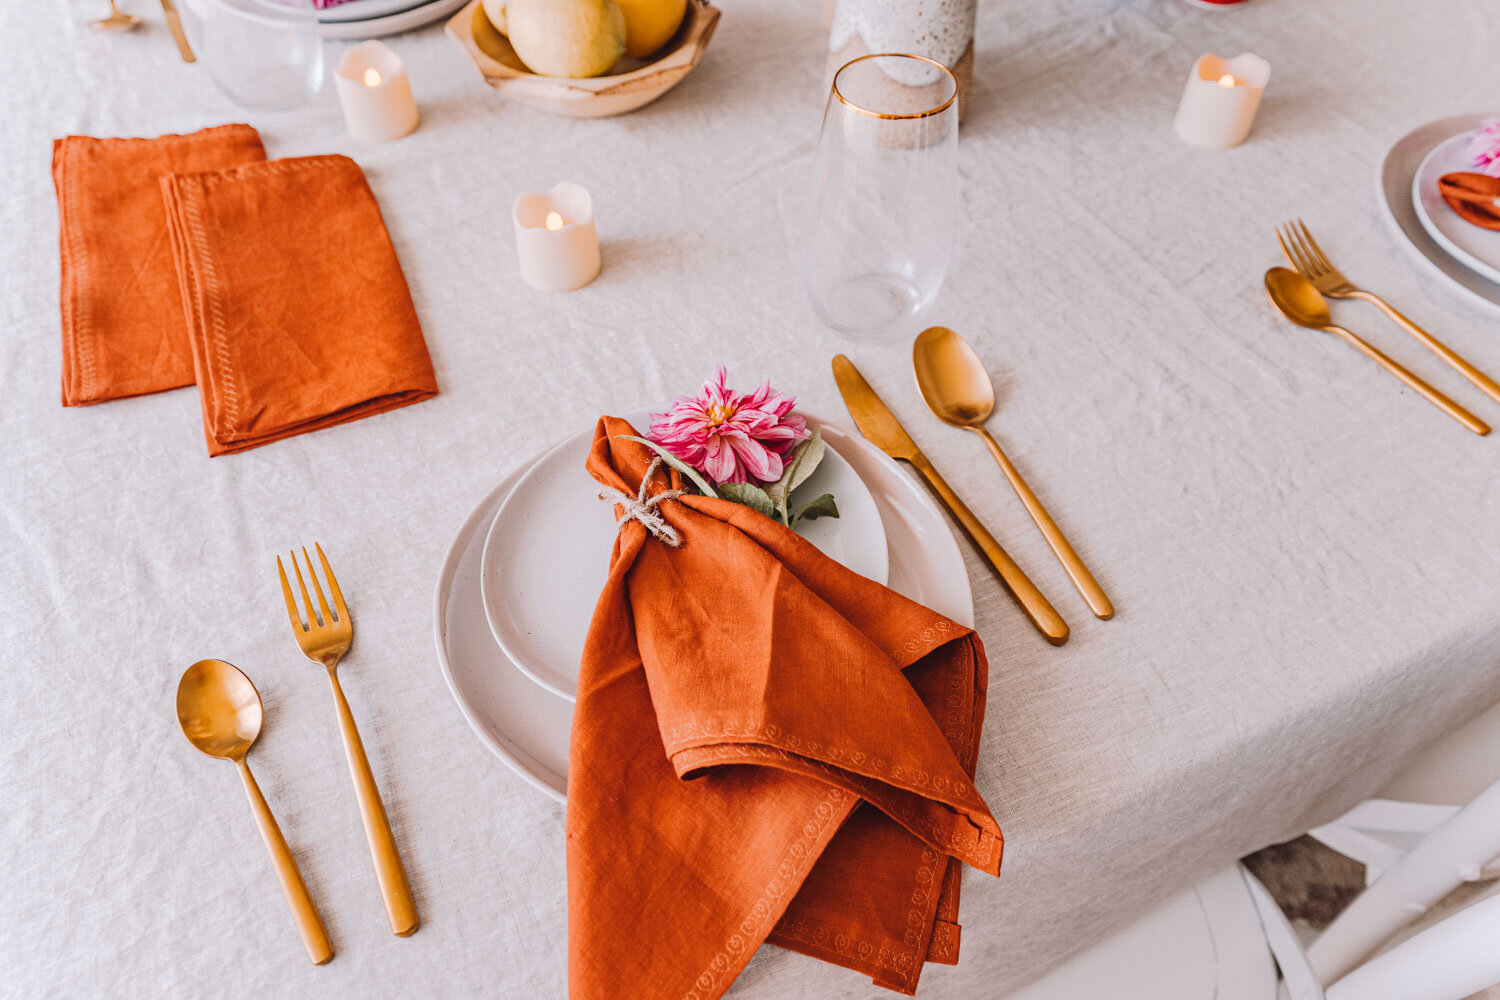
Homemade linen napkins are a beautiful addition to a dinner table setting and also are a fabulous gift idea. They’re so easy to make that I’m already planning on what colour I should do next!
I hope you enjoyed this post and happy sewing!