DIY Reusable Make-Up Remover Wipes
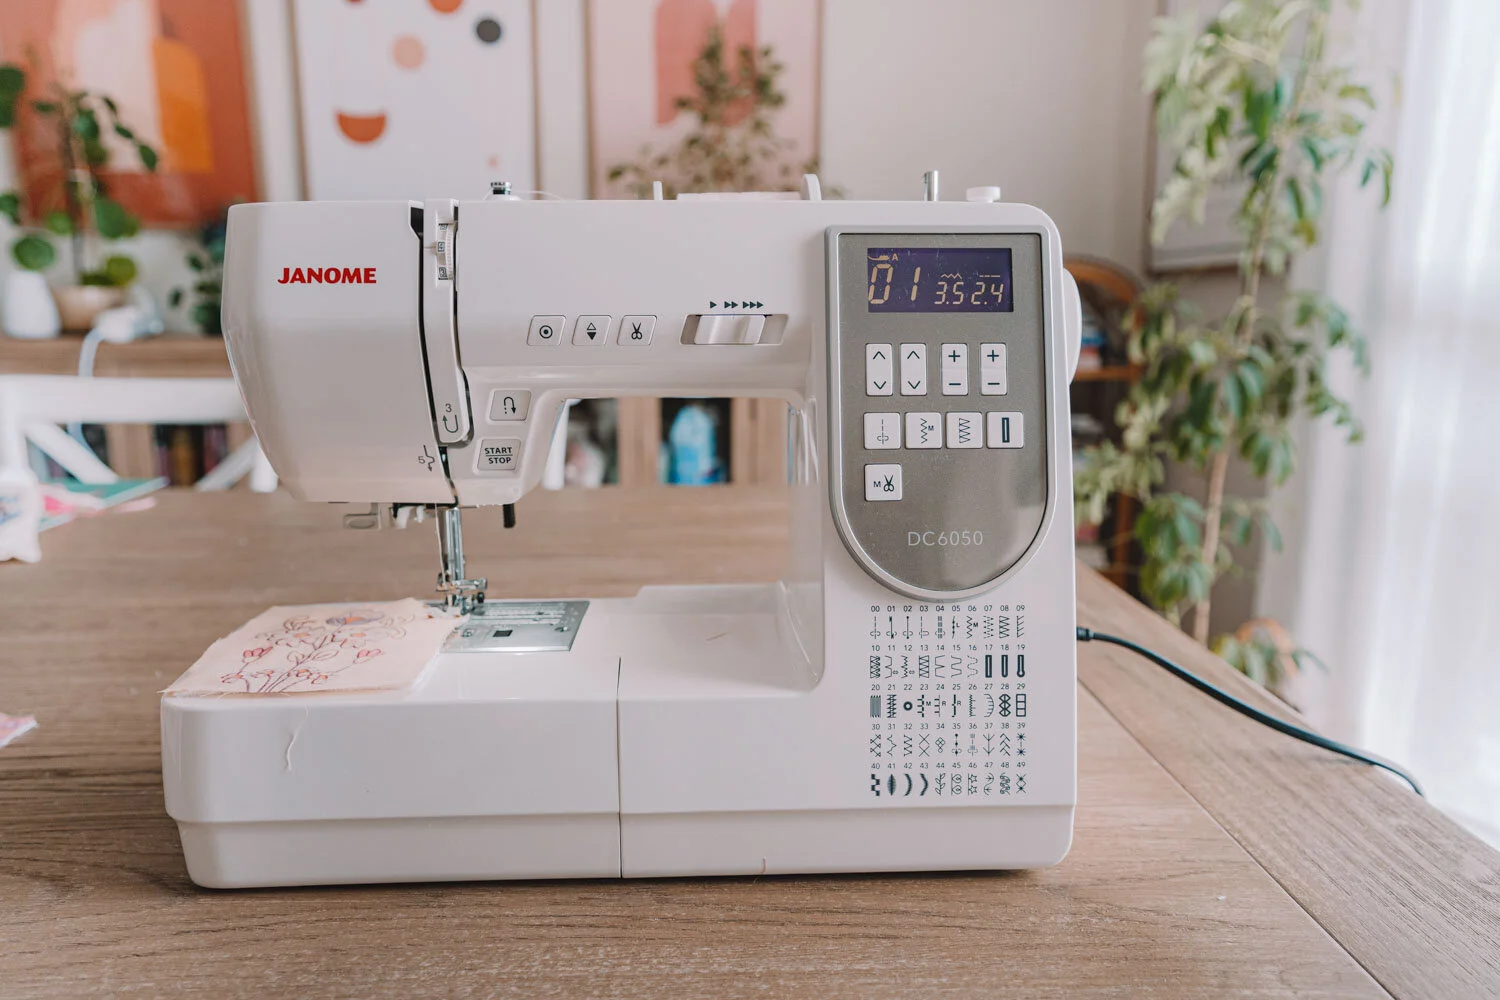
I’m super excited to share some sewing tutorials with you this year because if you’ve been following on Instagram you will have seen that I recently welcomed a beautiful Janome DC6050 sewing machine into our home!
I grew up sewing on my mum’s old Janome. It was a wonderful mechanical sewing machine and I absolutely loved sewing on it - I made hair accessories (back in the day for my Etsy store!), hemmed my op shop finds, made aprons and so much more. Ever since moving out, I’ve been meaning to get my own little Janome too. With my new trusty DC6050 on hand (computerised sewing too!) I can finally get started on all these sewing projects that I’ve been wanting to work on and share for ages!
In collaboration with Janome Australia
The first sewing project I’m excited to share on my blog is a really simple & useful one. I’m going to show you how to make your own reusable make-up remover wipes - a fabulous alternative to using disposable wipes that also come in plastic packaging. This tutorial is a perfect one for getting warmed up on the sewing machine and I’ve made it super simple so that it’s suitable for all skill levels.
I first started using reusable make-up remover wipes around mid-year last year after finally finishing my disposable ones which I bought a few years ago and then only using them when I absolutely needed to, meaning it took ages to finish!
I found swapping from disposable make up remover pads to reusable ones to be the world’s easiest zero-waste swap that anyone can do. Using reusable make up remover wipes feel exactly the same as disposable ones, if not better and way more lush and luxe! These wipes can be used exactly the same - to remove make up, apply toners, essences, etc. Plus, caring for them is so easy. Simply chuck them in a little wash bag and run them in your laundry load.
So, you convinced? It’s time to ditch the disposables and make our own!

YOU WILL NEED:
Cotton Towelling Fabric / Terrycloth Fabric - something soft and luxe with a microfibre face towel feel - I used Velour Cotton Towelling from Spotlight, available here. I recommend choosing something that is made from 100% natural fibres where possible to minimise microplastics going down the sink
Printed / plain decorative fabric: This project is the perfect opportunity to use up any pretty fabric offcuts or scraps you have lying around as you only need to be able to cut 10x10cm squares out of them. I have some beautiful Spell scrap fabric which I had leftover from my DIY beeswax wraps tutorial here! Again, I recommend choosing natural fibres where possible.
For both of the above fabrics, you will need enough to cut multiple (e.g. 10) 10x10cm squares out of.
Ruler
Fabric Scissors OR Rotary Cutter + Self Healing Cutting Mat: I’m obsessed with my pink Olfa 45mm rotary cutter ever since discovering rotary cutters were a thing (#lifechanged) and find it so much easier to use than scissors. You’ll need a Olfa self healing cutting mat with it too - it literally self heals when you cut into it.
Tailor’s chalk OR washable fabric markers (e.g. Crayola Ultra-Clean Washable Markers): or even just a regular pen - just make sure you mark the wrong side of the fabric so it doesn’t show on the correct side!
Sewing machine - of course, I’m using my gorge Janome DC6050 (and been madly in love with it ever since it arrived! Will tell you why in a separate blog post some time!)
Sewing thread


INSTRUCTIONS:
1. Cut 10 square pieces from your cotton towelling fabric, measuring 10cm x 10cm in size.
2. Do the same with your decorative cotton fabric - cutting 10 square pieces measuring 10cm x 10cm in size.

3. Match up your towelling fabric pieces with your cotton fabric, with the both of the correct sides facing inwards.
4. Using your sewing machine, sew around each square using a straight stitch with a 1 cm seam allowance. Leave a 3cm opening on one of the sides so you can turn it inside out later.
Note: seam allowance here doesn’t really matter that much as we aren’t making clothes or anything! So if you’re like me and prefer to sew a smaller seam allowance then go ahead - you’ll just end up with slightly bigger ones which are more than fine!


5. Trim the seam allowance on both pieces of fabric back to 0.5 cm.
If you’re using natural fibres like cotton, then you can put the fabric scraps in your compost bin!
6. Also cut a small triangle off each corner making sure not to go too close to the sewn corners, to reduce bulk when you flip it the right way out.


7. Flip each make-up remover wipe inside out so the right way is now on the outside. If you need to use, use something like a chopstick to push the corners out.
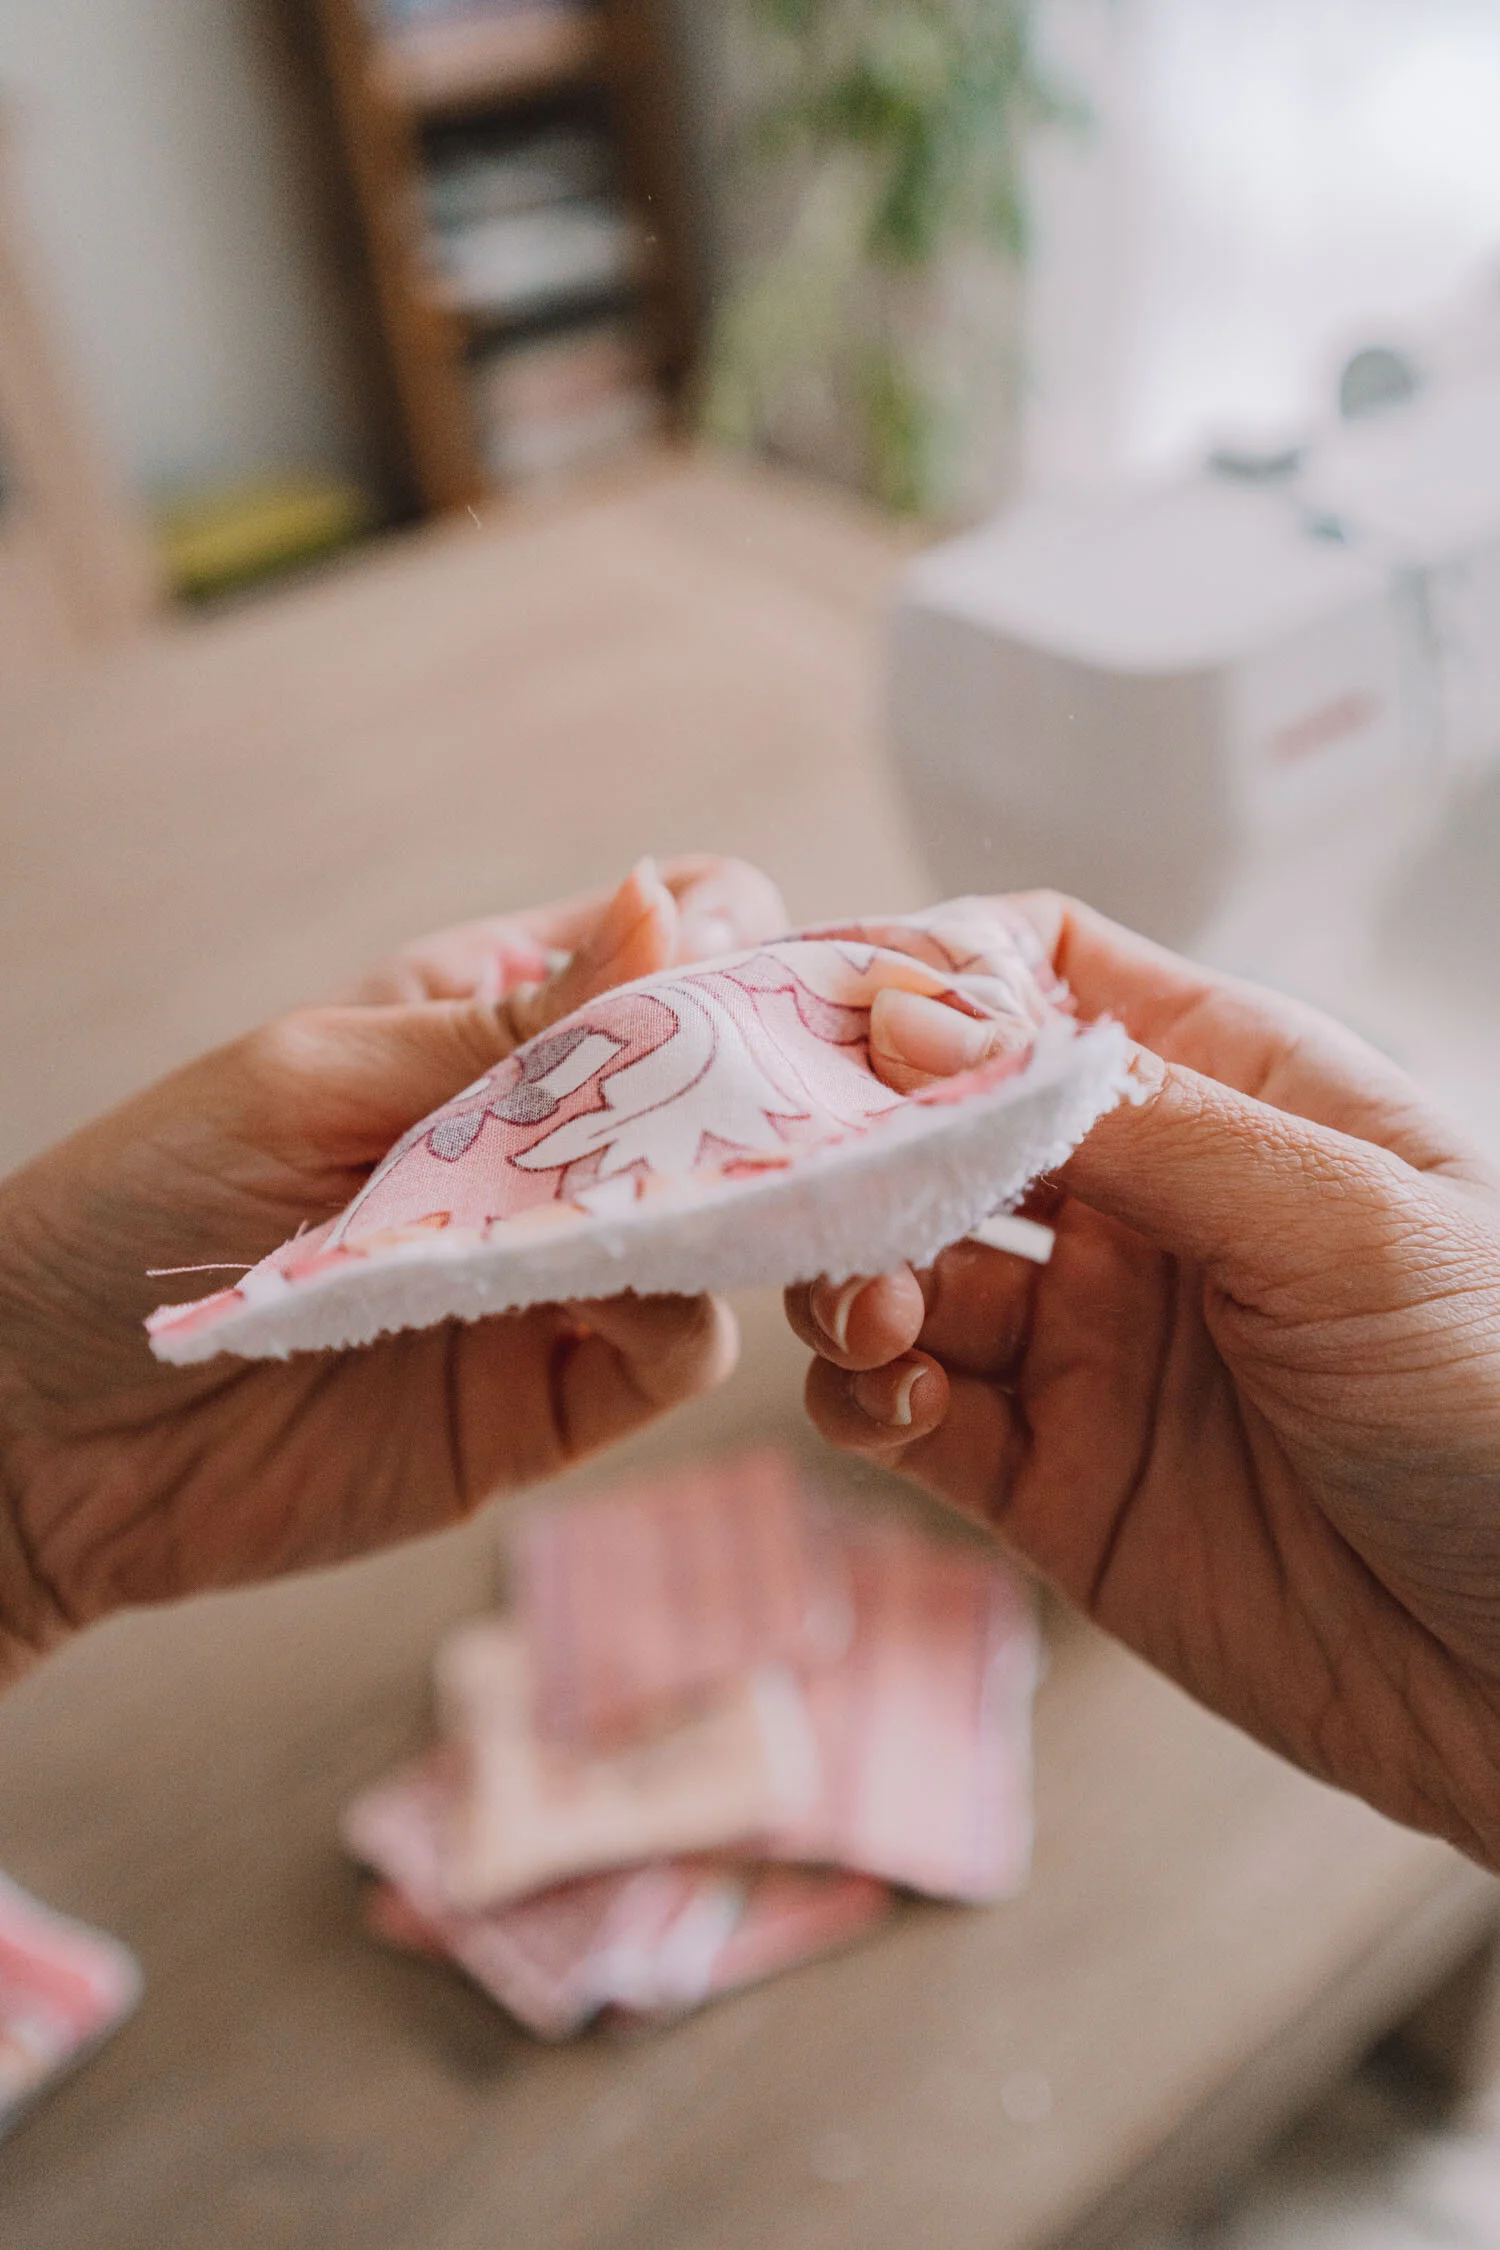


8. Using your sewing machine, sew a topstitch with 0.5 cm/minimal seam allowance all around the square to finish them off.
Note, I use the 01 stitch on my Janome DC6050 which does a locking stitch at the start and end, which is handy to make sure nothing unravels.
And you’re done!


STORAGE & CARE
When storing my reusable make-up remover wipes, I put all of the fresh, clean ones in one jar and the used ones in another jar that is lined with a little washable cotton mesh drawstring bag. That way, when the used jar is full, I simply take out the bag, tighten the draw strings and pop the bag into my weekly laundry load.


I hope you enjoyed my first sewing tutorial! If by the end of this tutorial you have too much fun.. why not make some extra sets to gift them to friends and family as well to encourage them to adopt a more eco-friendly alternative as well!
